
Our daily bread
Purists may blanch but we have developed a simple, overnight method to make delicious sourdough bread.
There is certainly a place for the specialist bakers like Chad Robertson of Tartin (see these amazing videos) and they have been a major inspiration. But in a busy kitchen concerned with making a full range of dishes a consistent and fail safe method which can easily fit in the daily varied kichen environment is essential. We still habour ambitions to one day explore the intricate avenues of specialist baking further but for now here is our recipe and method. I have listed some more in depth resources at the end of this piece for when you get more into this art.
Good sourdough bread, as opposed to a lot of modern industrial bread, is simply made from flour, salt and water. Instead of using yeast a natural starter or leaven is used. The starter is simply a mix of flour and water which over a period of days left at room temperture develops into a living, fermenting pool of goodness. The acid tang which becomes such an appealing facet of soughdough is from the lactic acid produced as a by product of this fermentation by bacterial action. There is lots of evidence that making bread in this way has a number of health benefits over using commercial yeast and potentially many more over buying mass produced bread. We will explore this in a subsequent post.
In keeping with our desire to use local ingredients we choose Yorkshire flour milled by Bradshaw's in Driffield. We use a 50/50 mix of the aptly named "Hercules" a strong white and their wholemeal. Sea salt and Sheffield water are the other two ingredients.

The only part of this recipe process that take some planning is the preparation of the starter which you need to do a week before your first bake. There are a lot of detailed descriptions of how to do this like this one here. However, you can get going simply by mixing an equal quantity by weight wholemeal flour and water in a convenient plastic or crockery pot. Leave at room temperature and for the next 3 or 4 days pour half away each day topping back up with 50/50 flour/water. The natural yeasts from the flour and bacteria should start a fermentation and after a few days you will notice activity in your starter. So bubbling, tangy aromas and a change in consistency will be noticable. If you are baking regularly, say two or three times a week, you can simply keep it going indefinetely by feeding at least every other day and definetely the day before you plan to bake. If you are more sporadic in your baking you can slow down the fermentation by keeping in a fridge with the feeding regime also down to once a week. Simply remove from the fridge a few days before baking and feed as before to reinvigorate before using.
We base our recipe around a kilo of flour. This makes us two good sized loaves of around 900g each. The method could not be simpler:
1kg flour (we mix half white and half wholemeal)
1 tbsp of sea salt
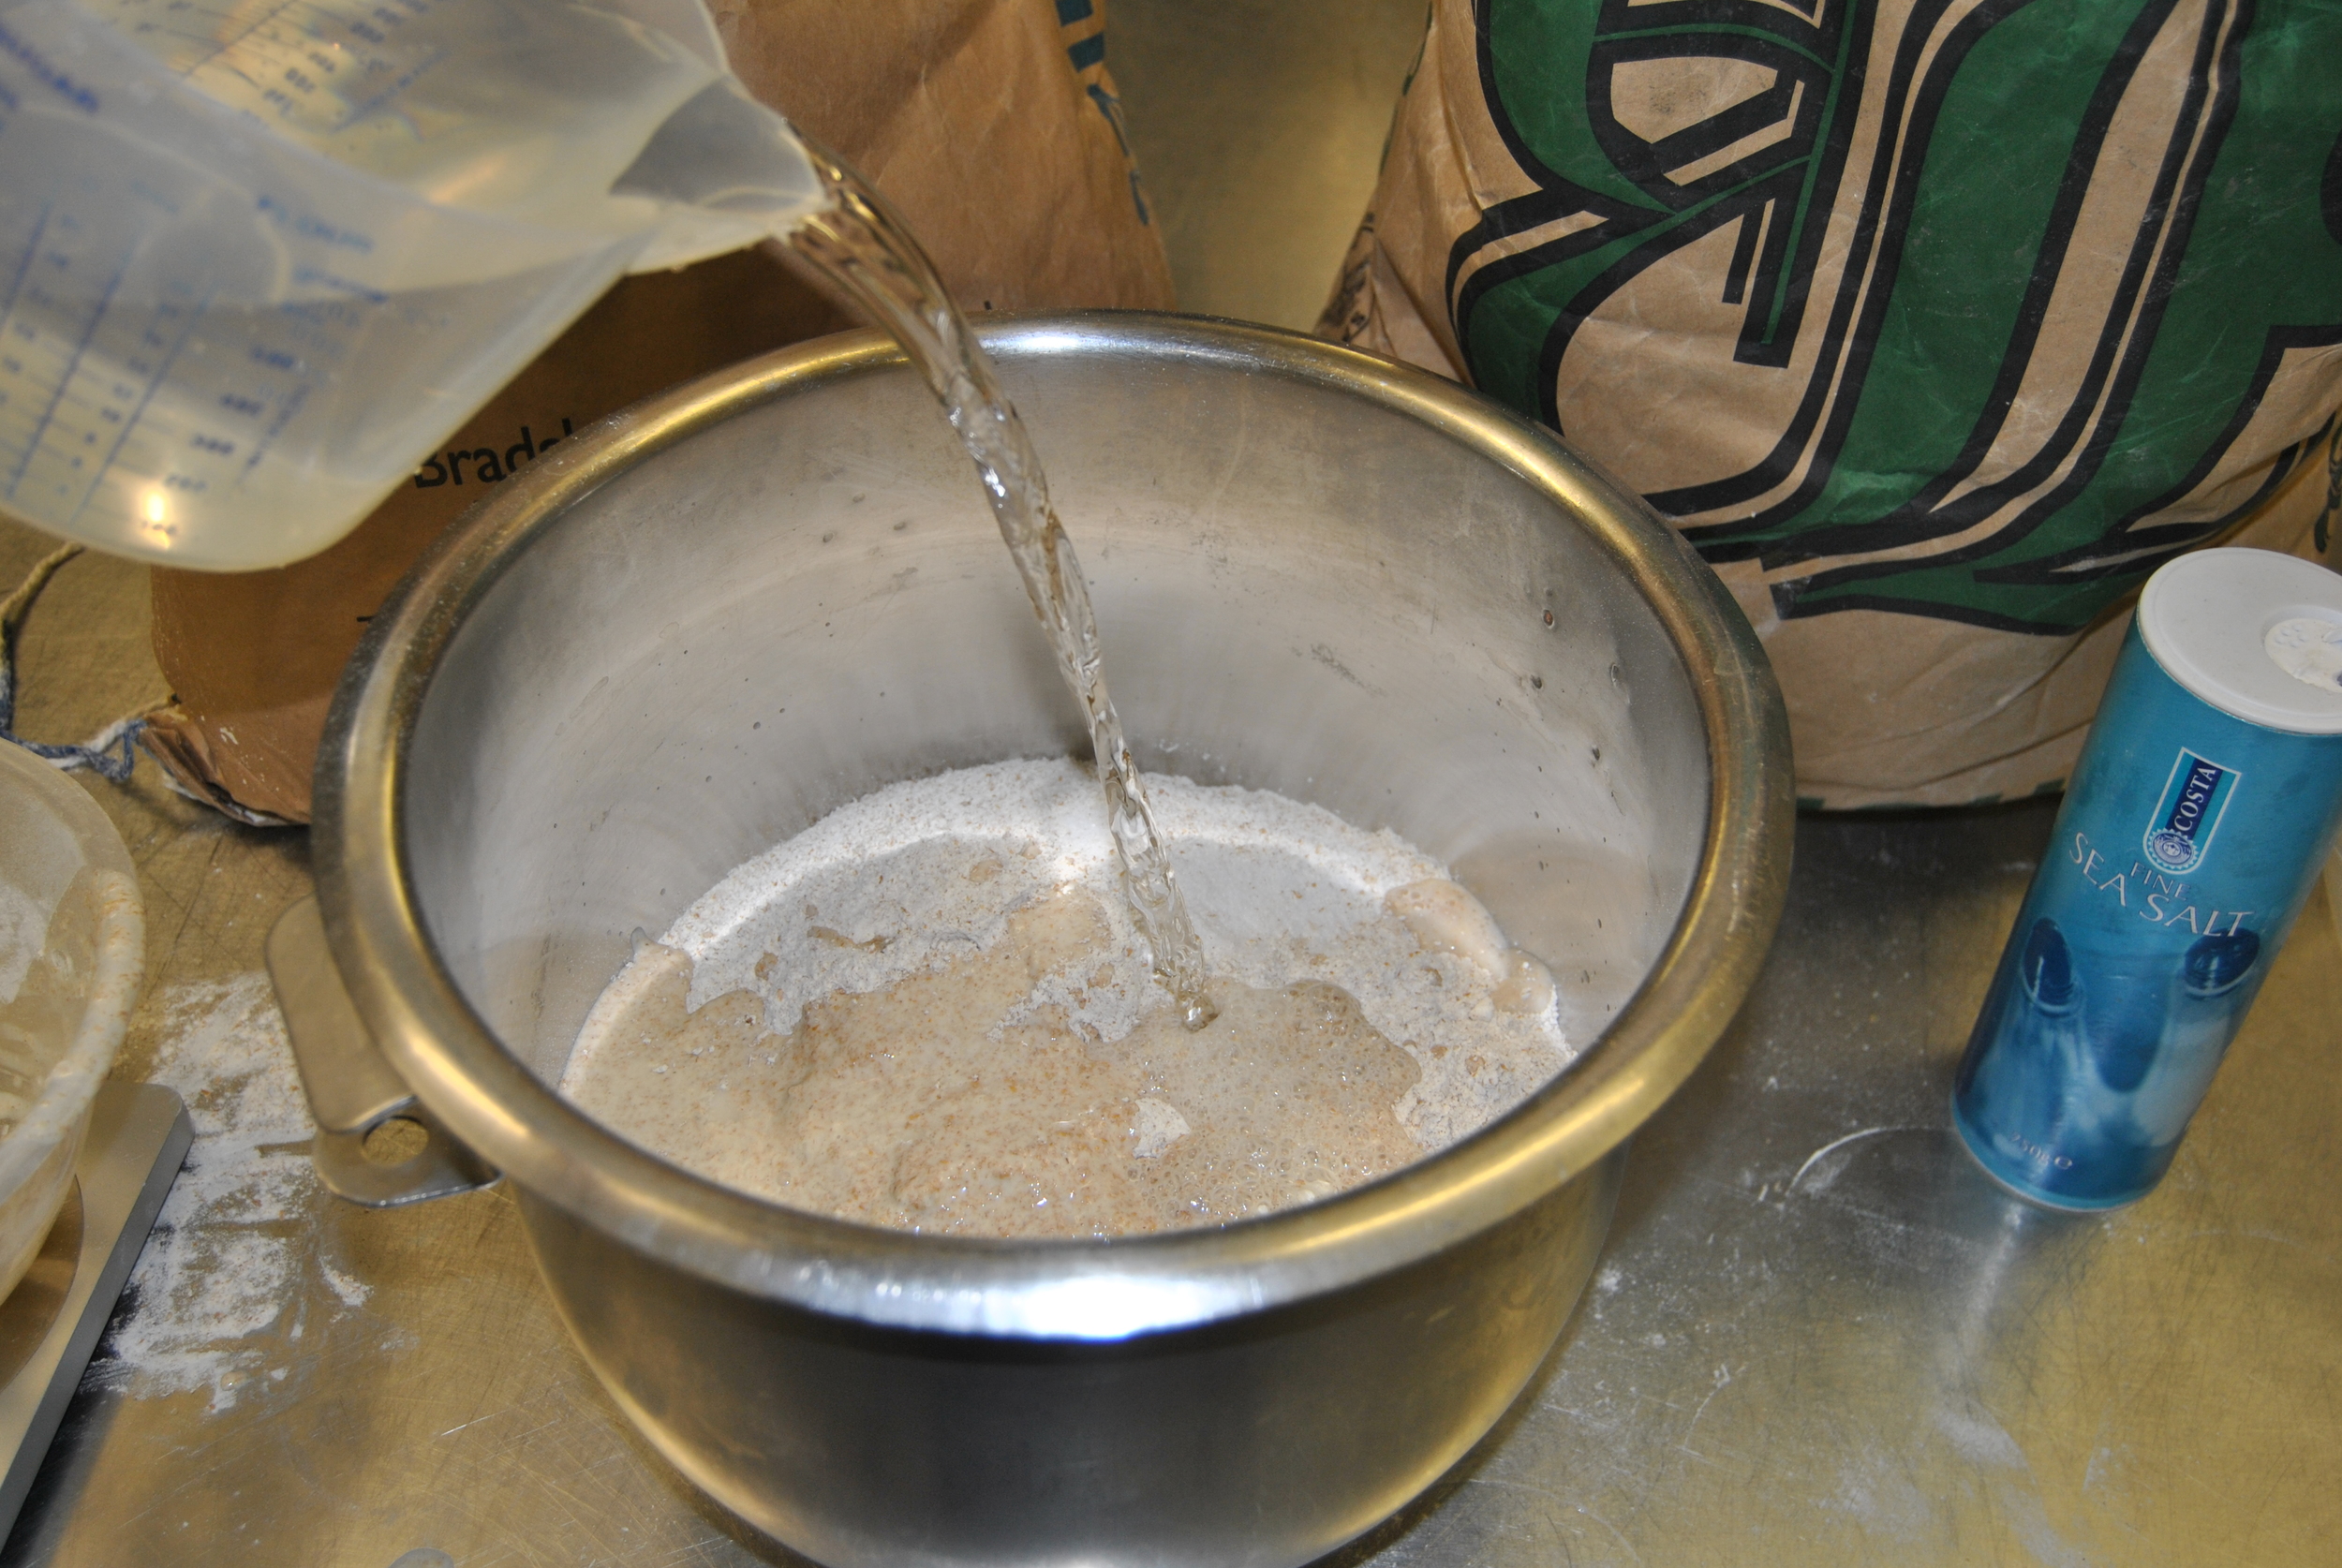
550g warm water
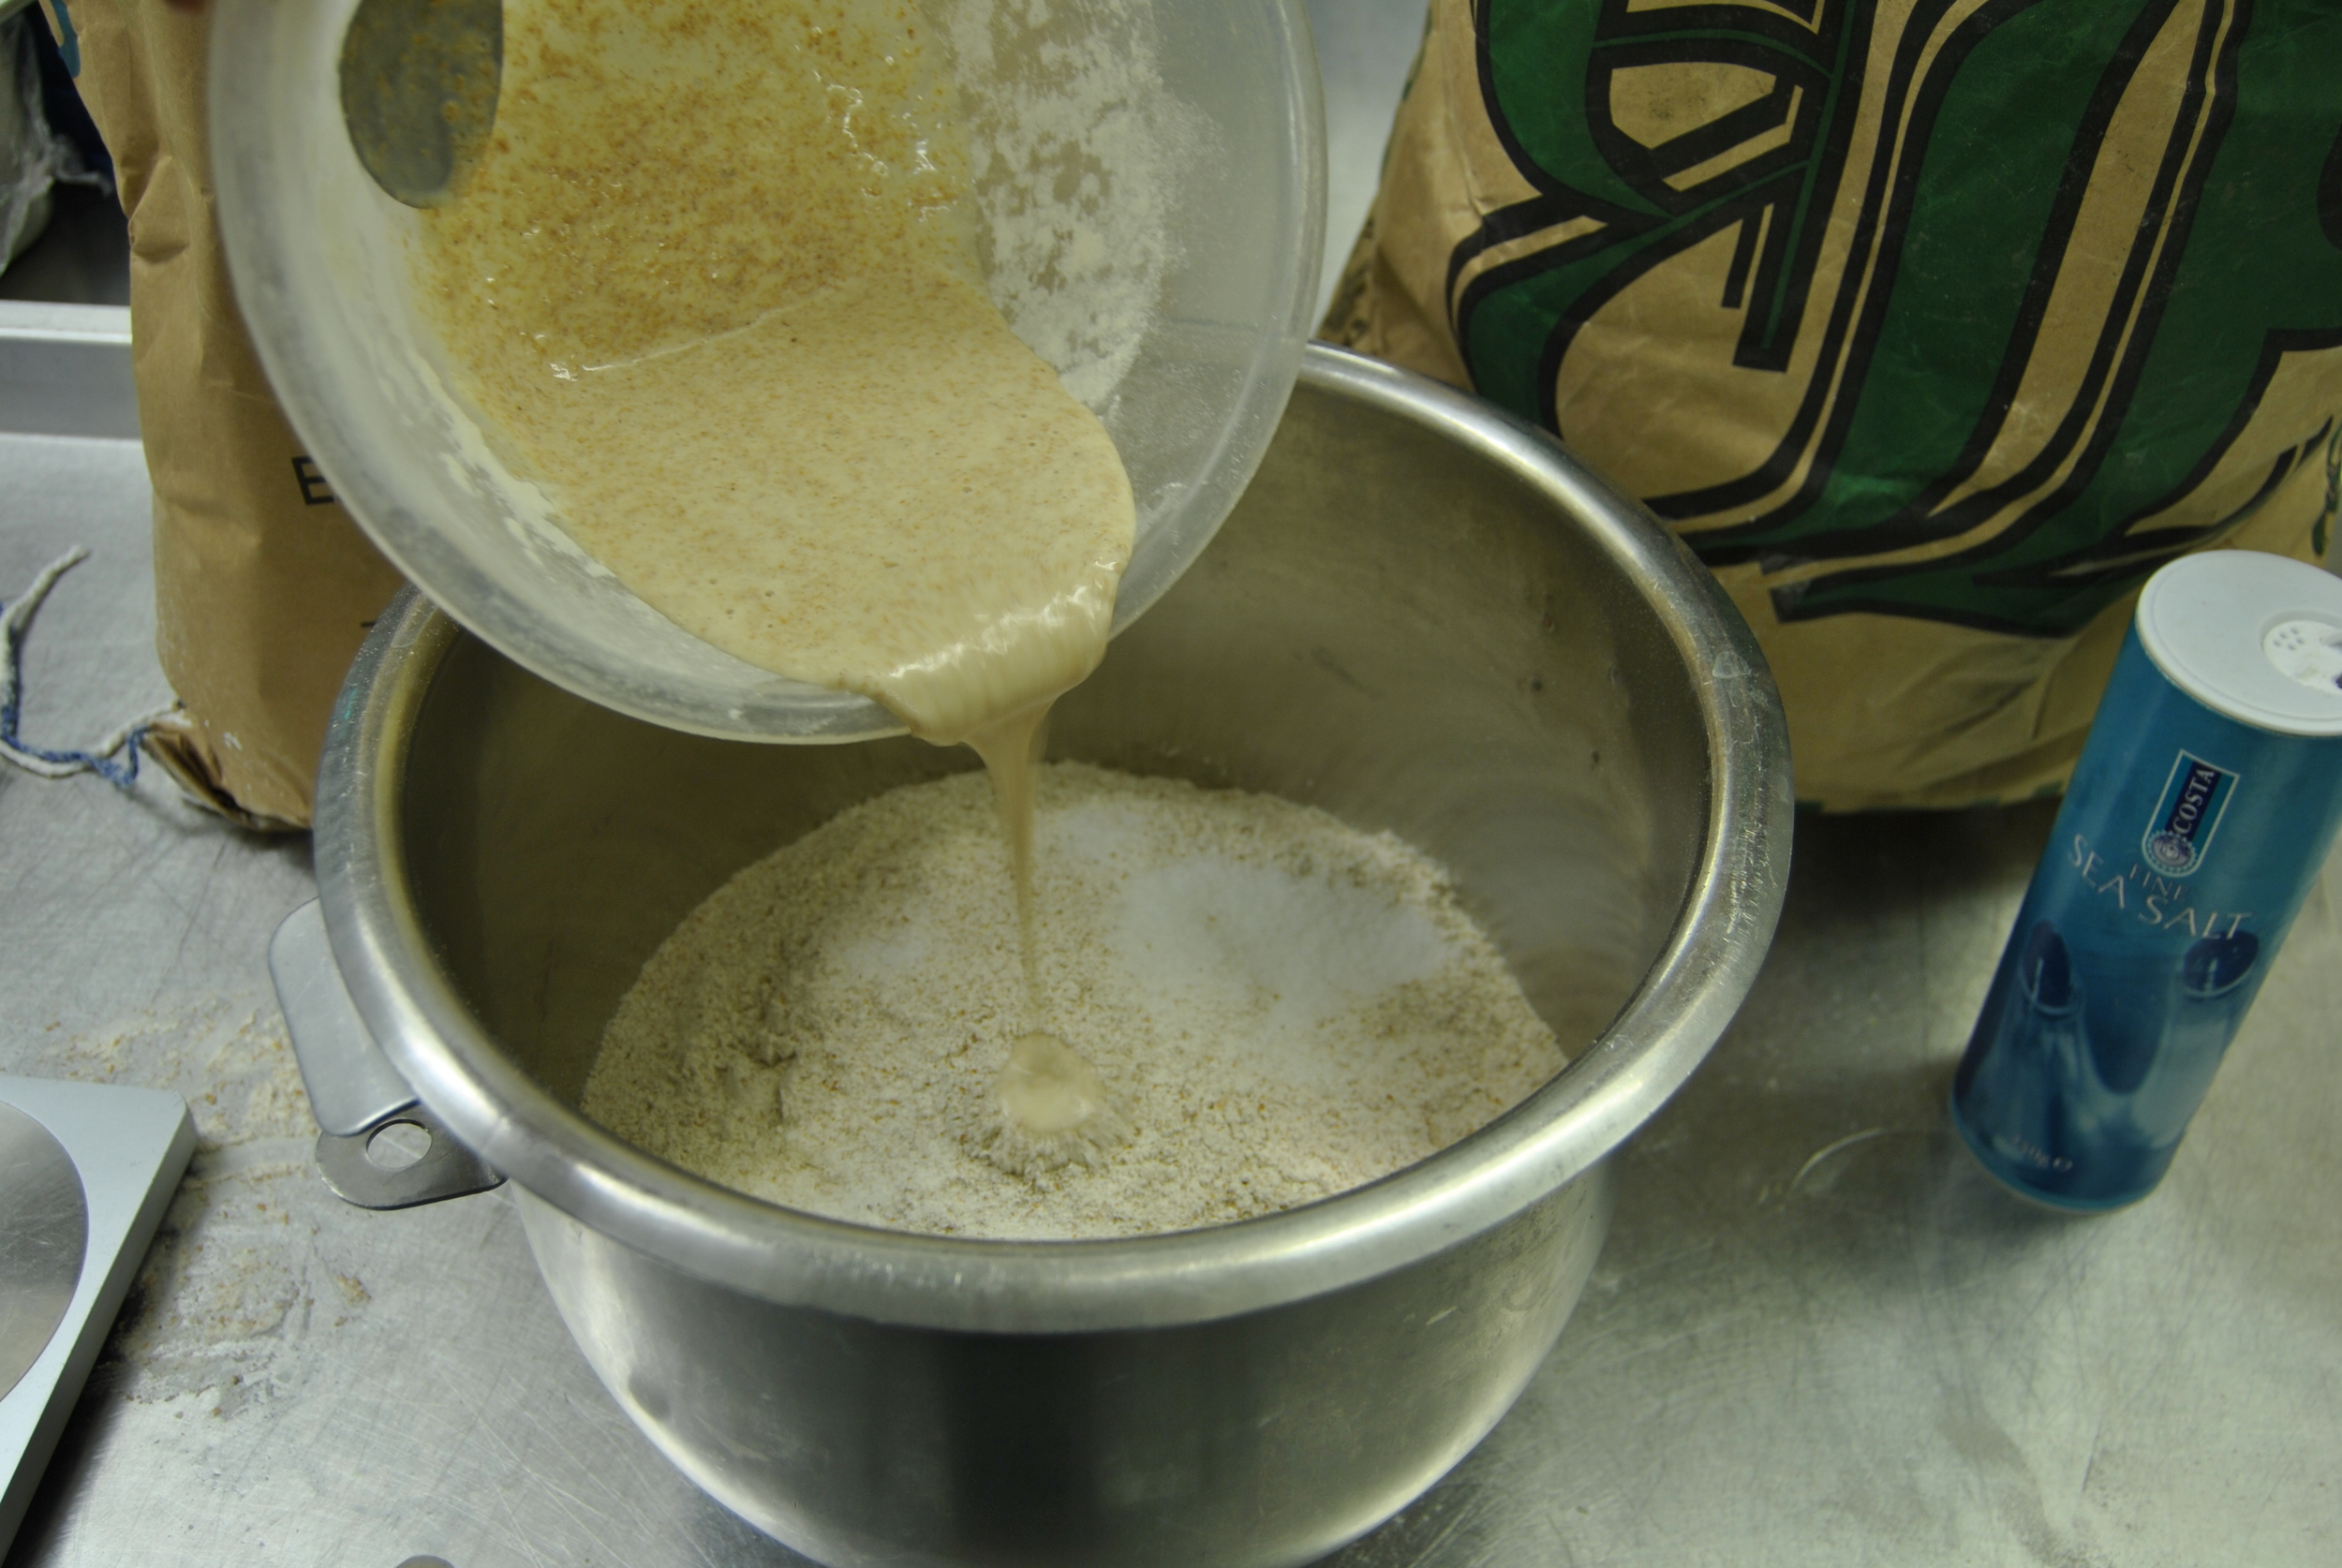
250g of the starter (feed the night before)
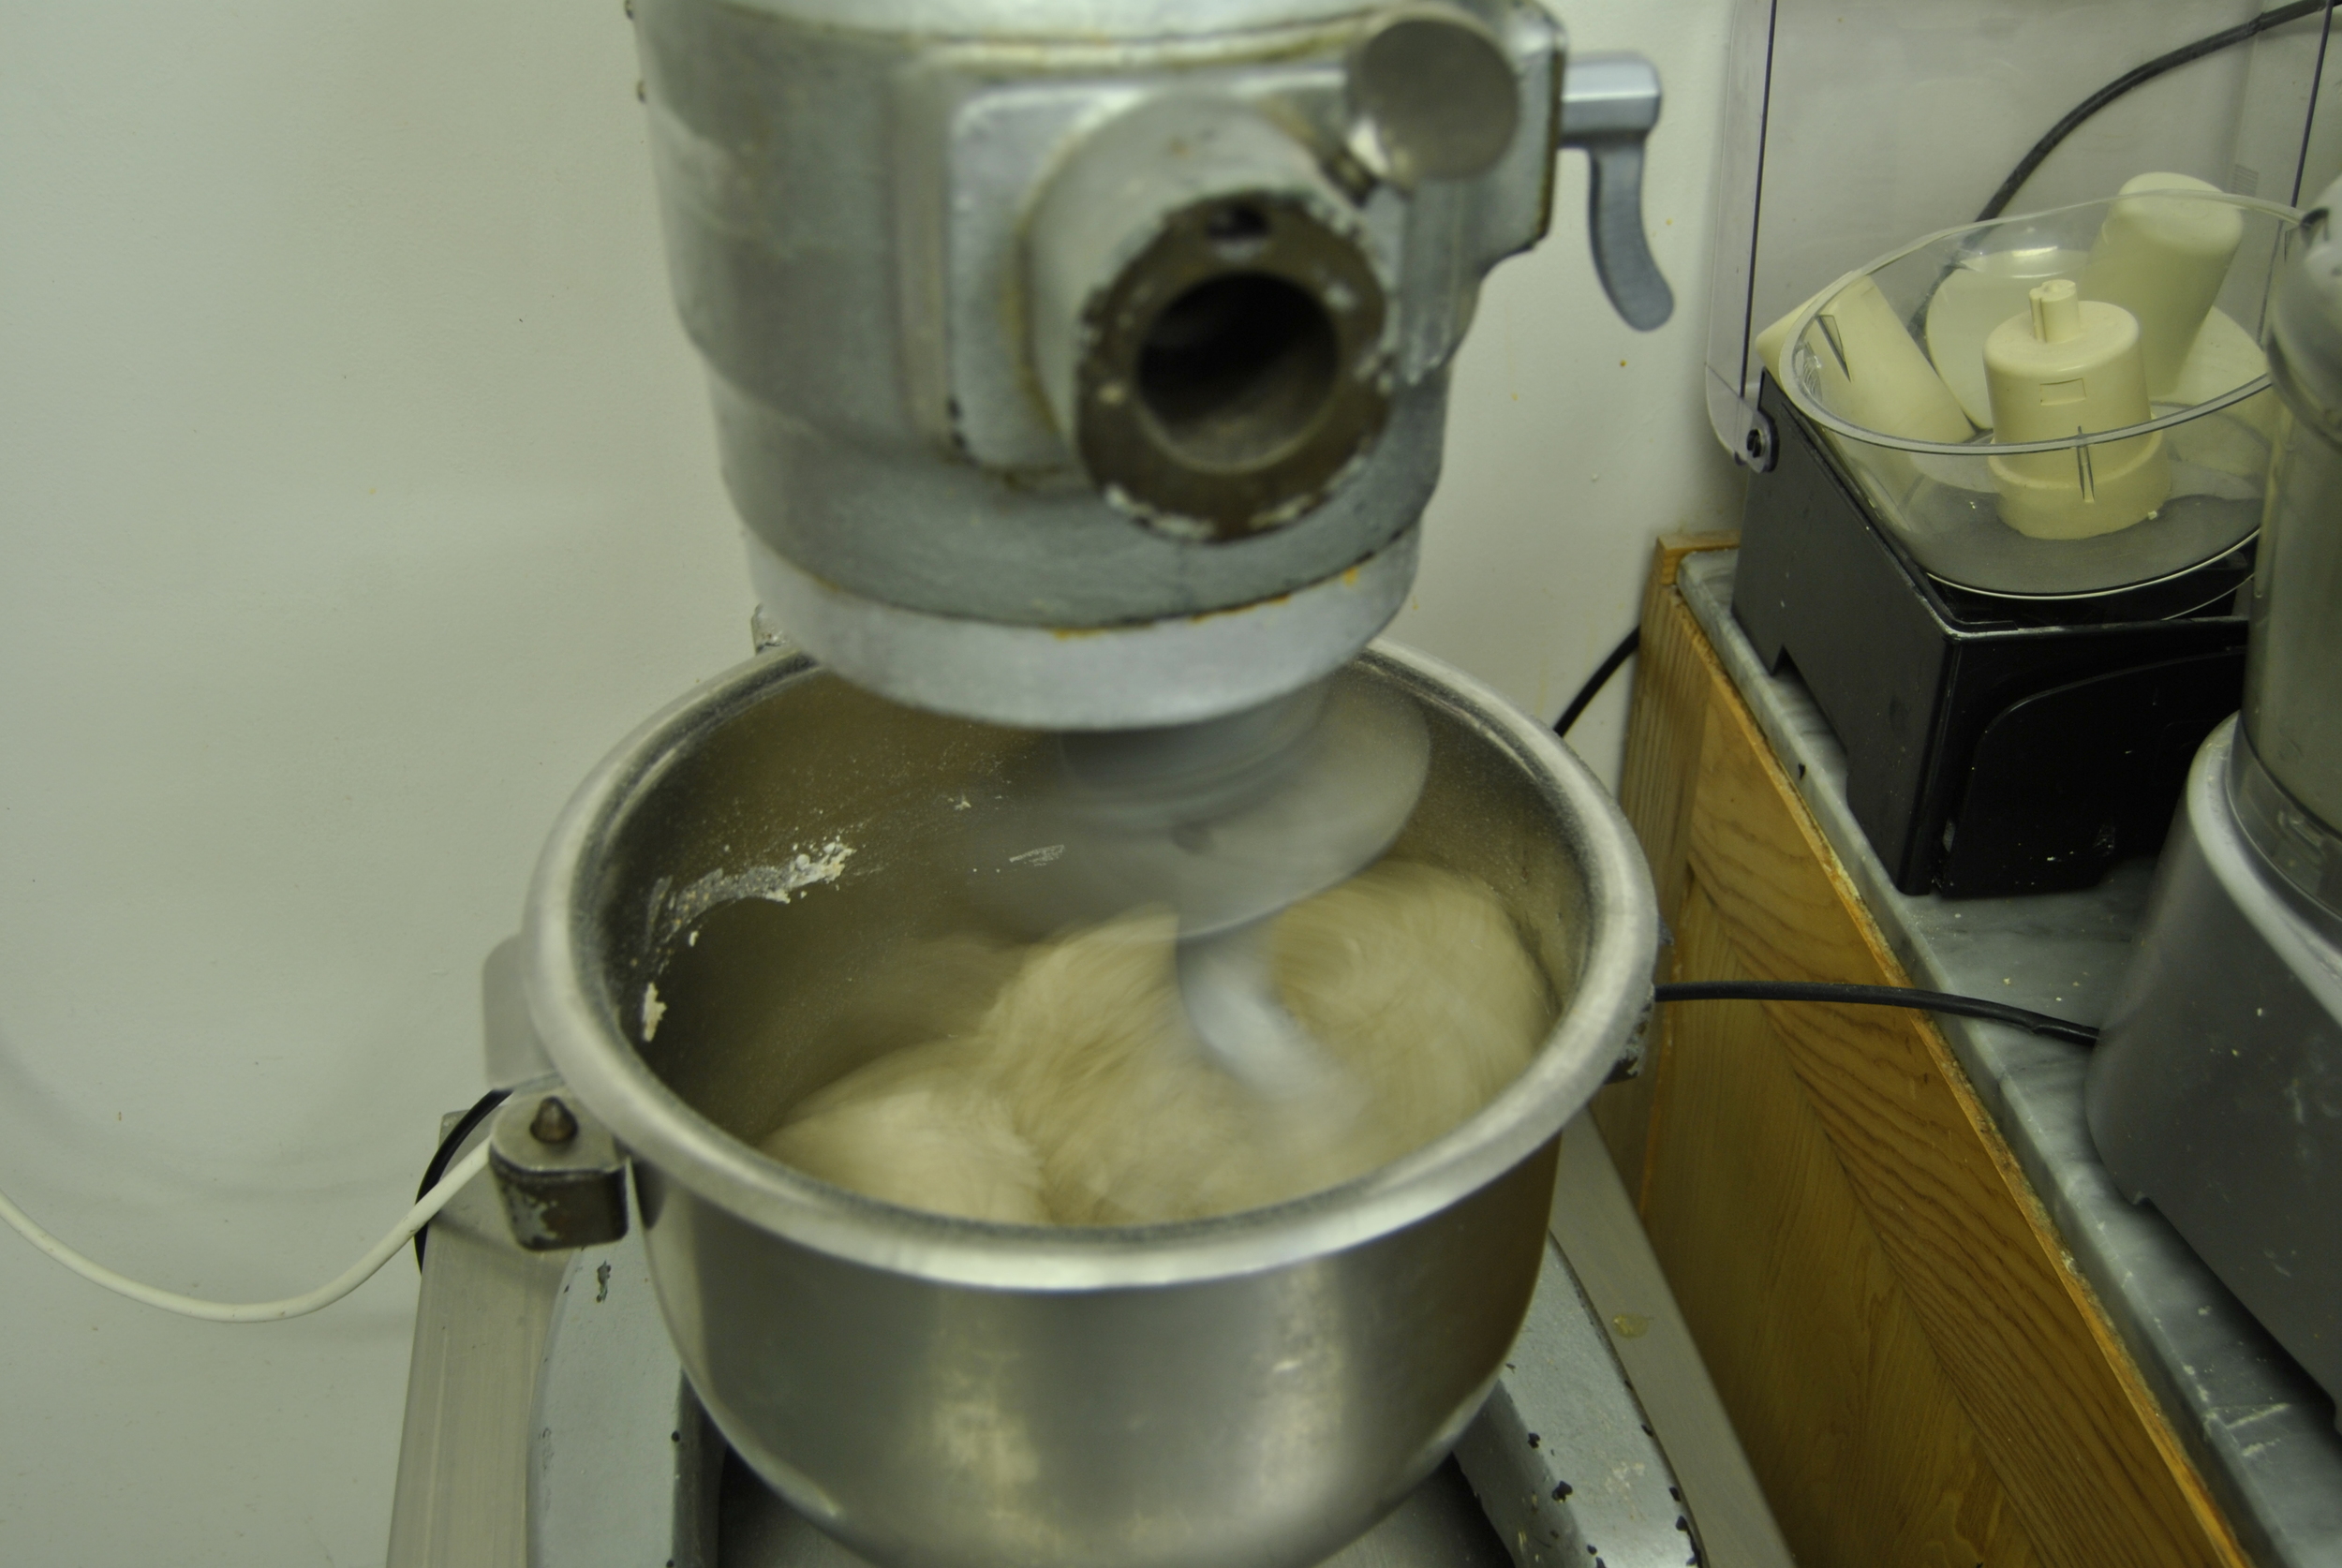
Mix in a bowl and turn out to knead for approximately 7 minutes or mix in the the bowl of your mixer and then mix with the dough hook for 7 minutes. Then cover in the bowl with cling film and rest in a warm place for 1-2 hours (a temperature of 25C° is good but at least 20C°). We simply sit the dough in its bowl on top of an oven which being in use most of the day gives us the required temperature (give or take). When I am making bread at home I find the airing cupboard is the best bet for a snug and consistent temperature
The dough proves during this time with the yeasts starting to feed on the starch/gluten to convert it to CO2 and alcohol. At higher temperatures (say up to 40 C°) this occurs quite quickly and the excess alcohol can create unwanted flavours. However, given time the bacteria present itself feeds on the alcohol producing more desirable flavour compounds - this is why artisan bakers often "retard" the fermentation by putting the dough into colder storage (or even the fridge) over night.

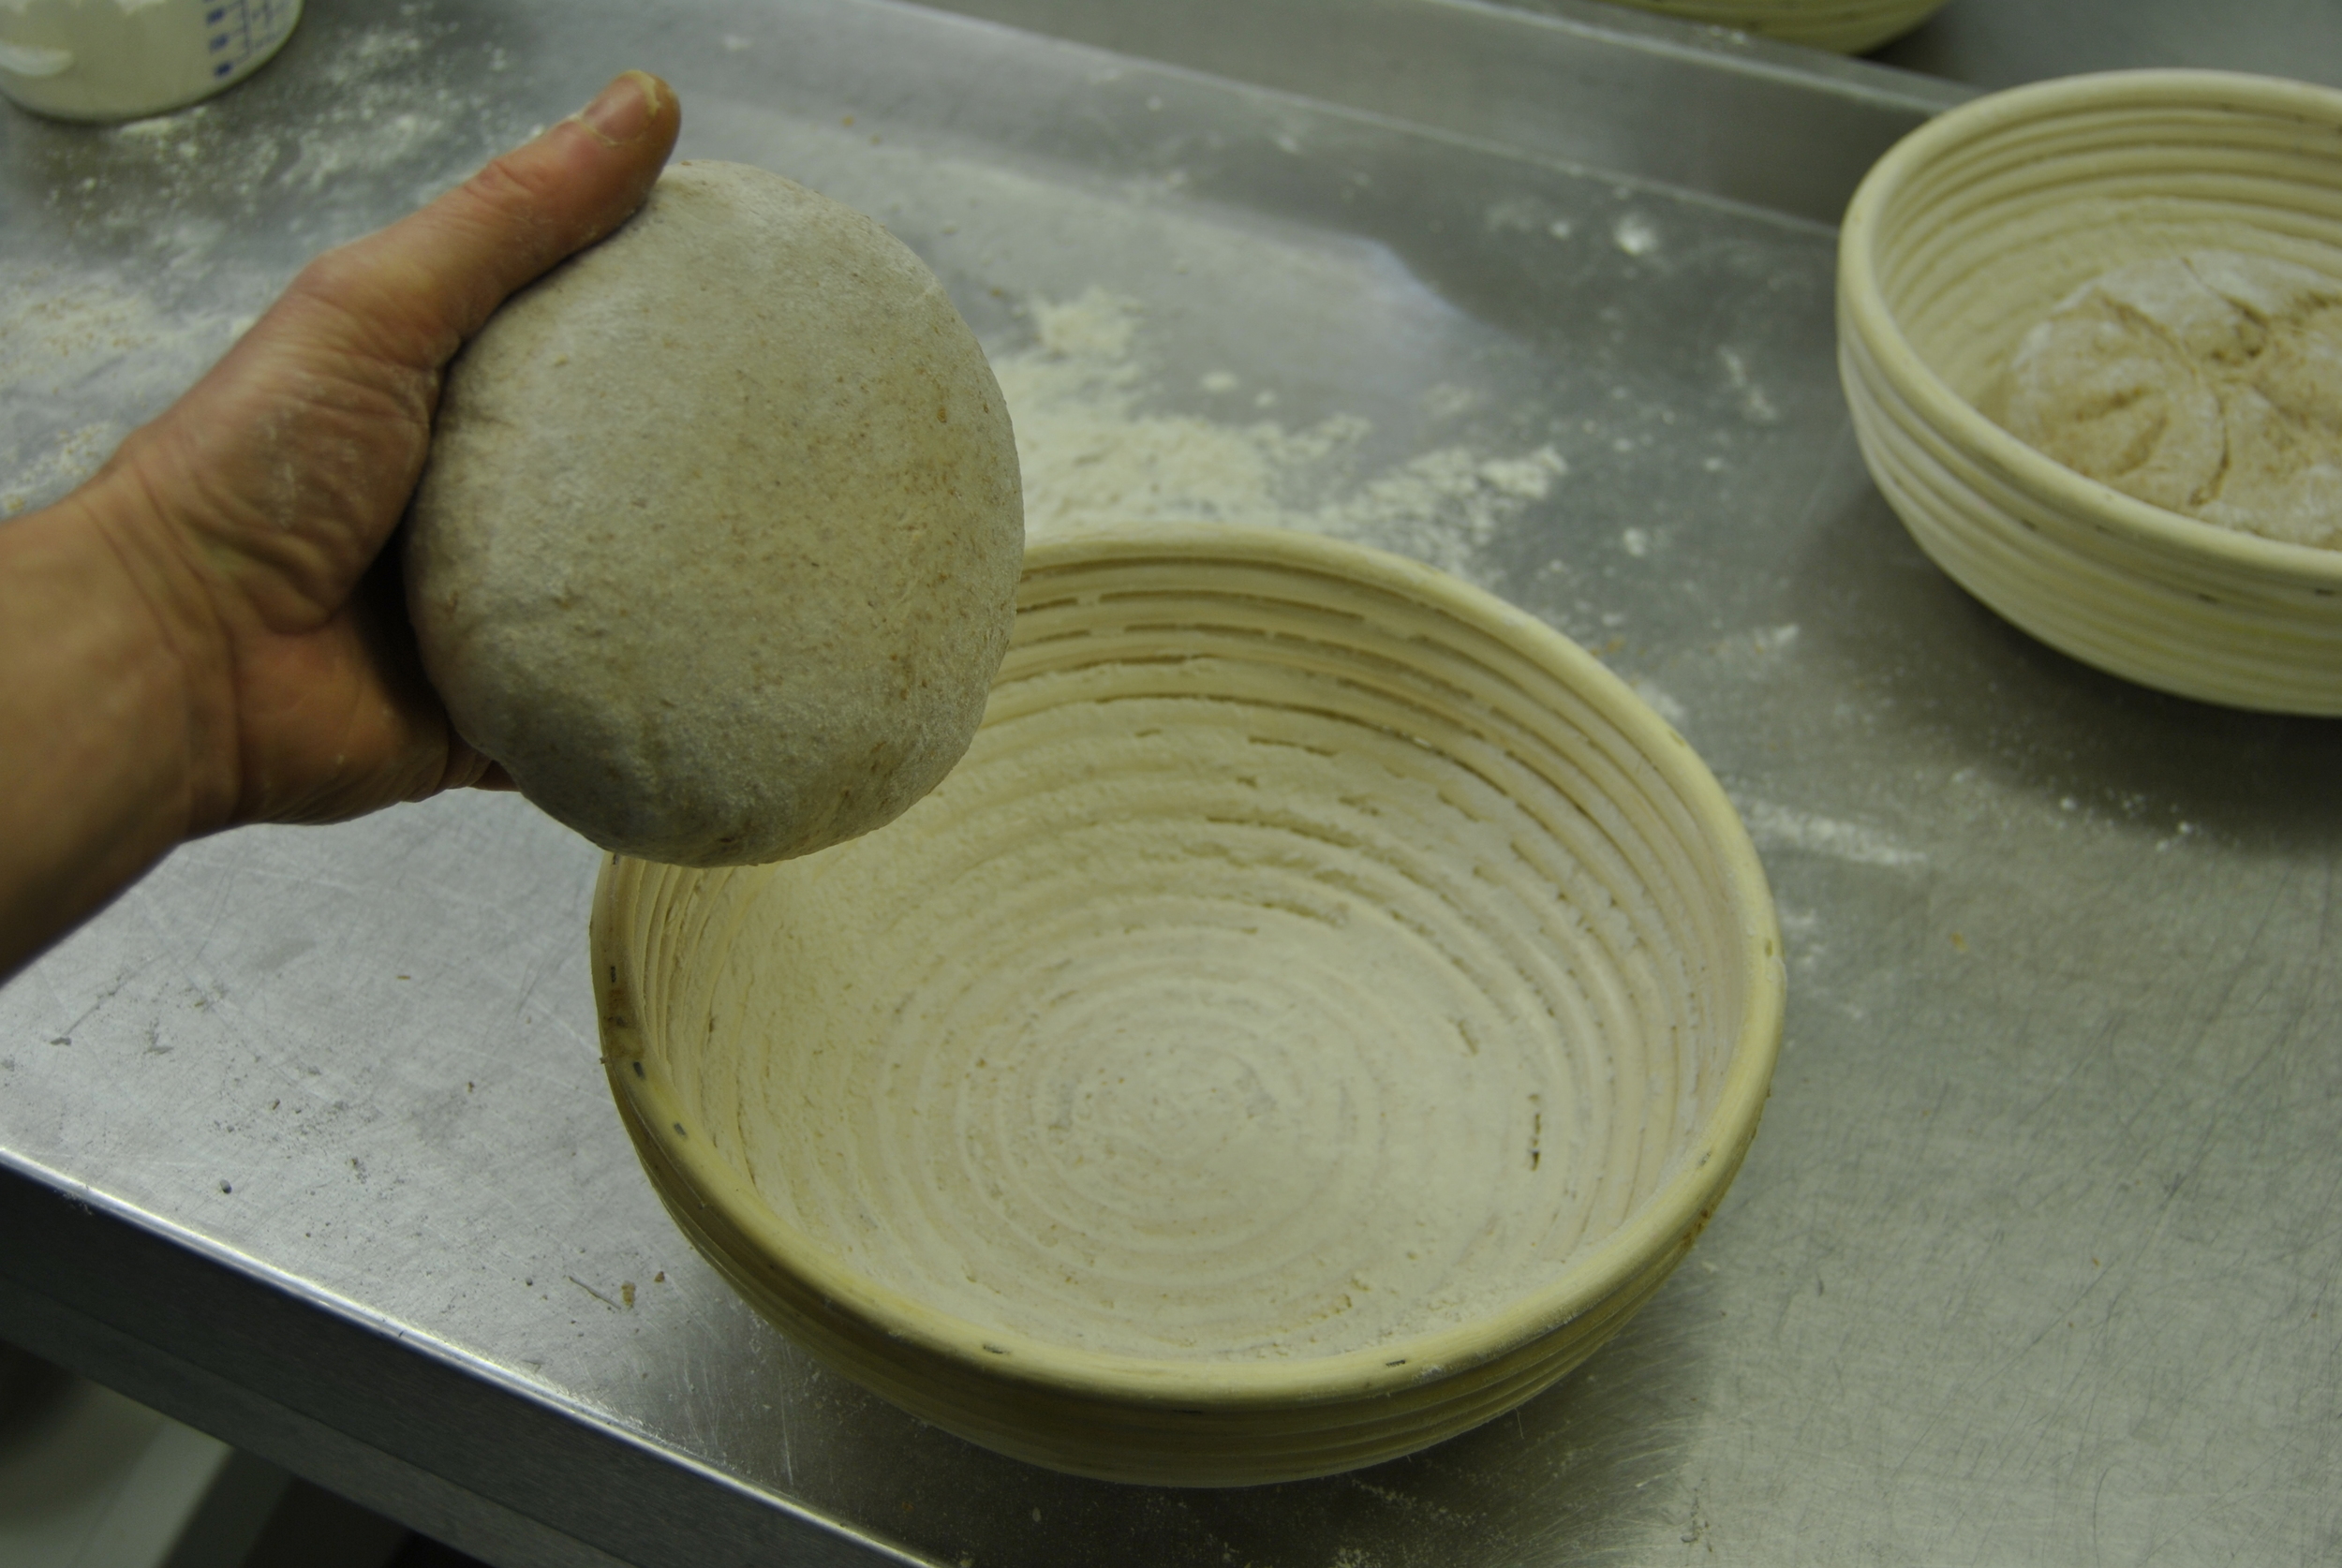
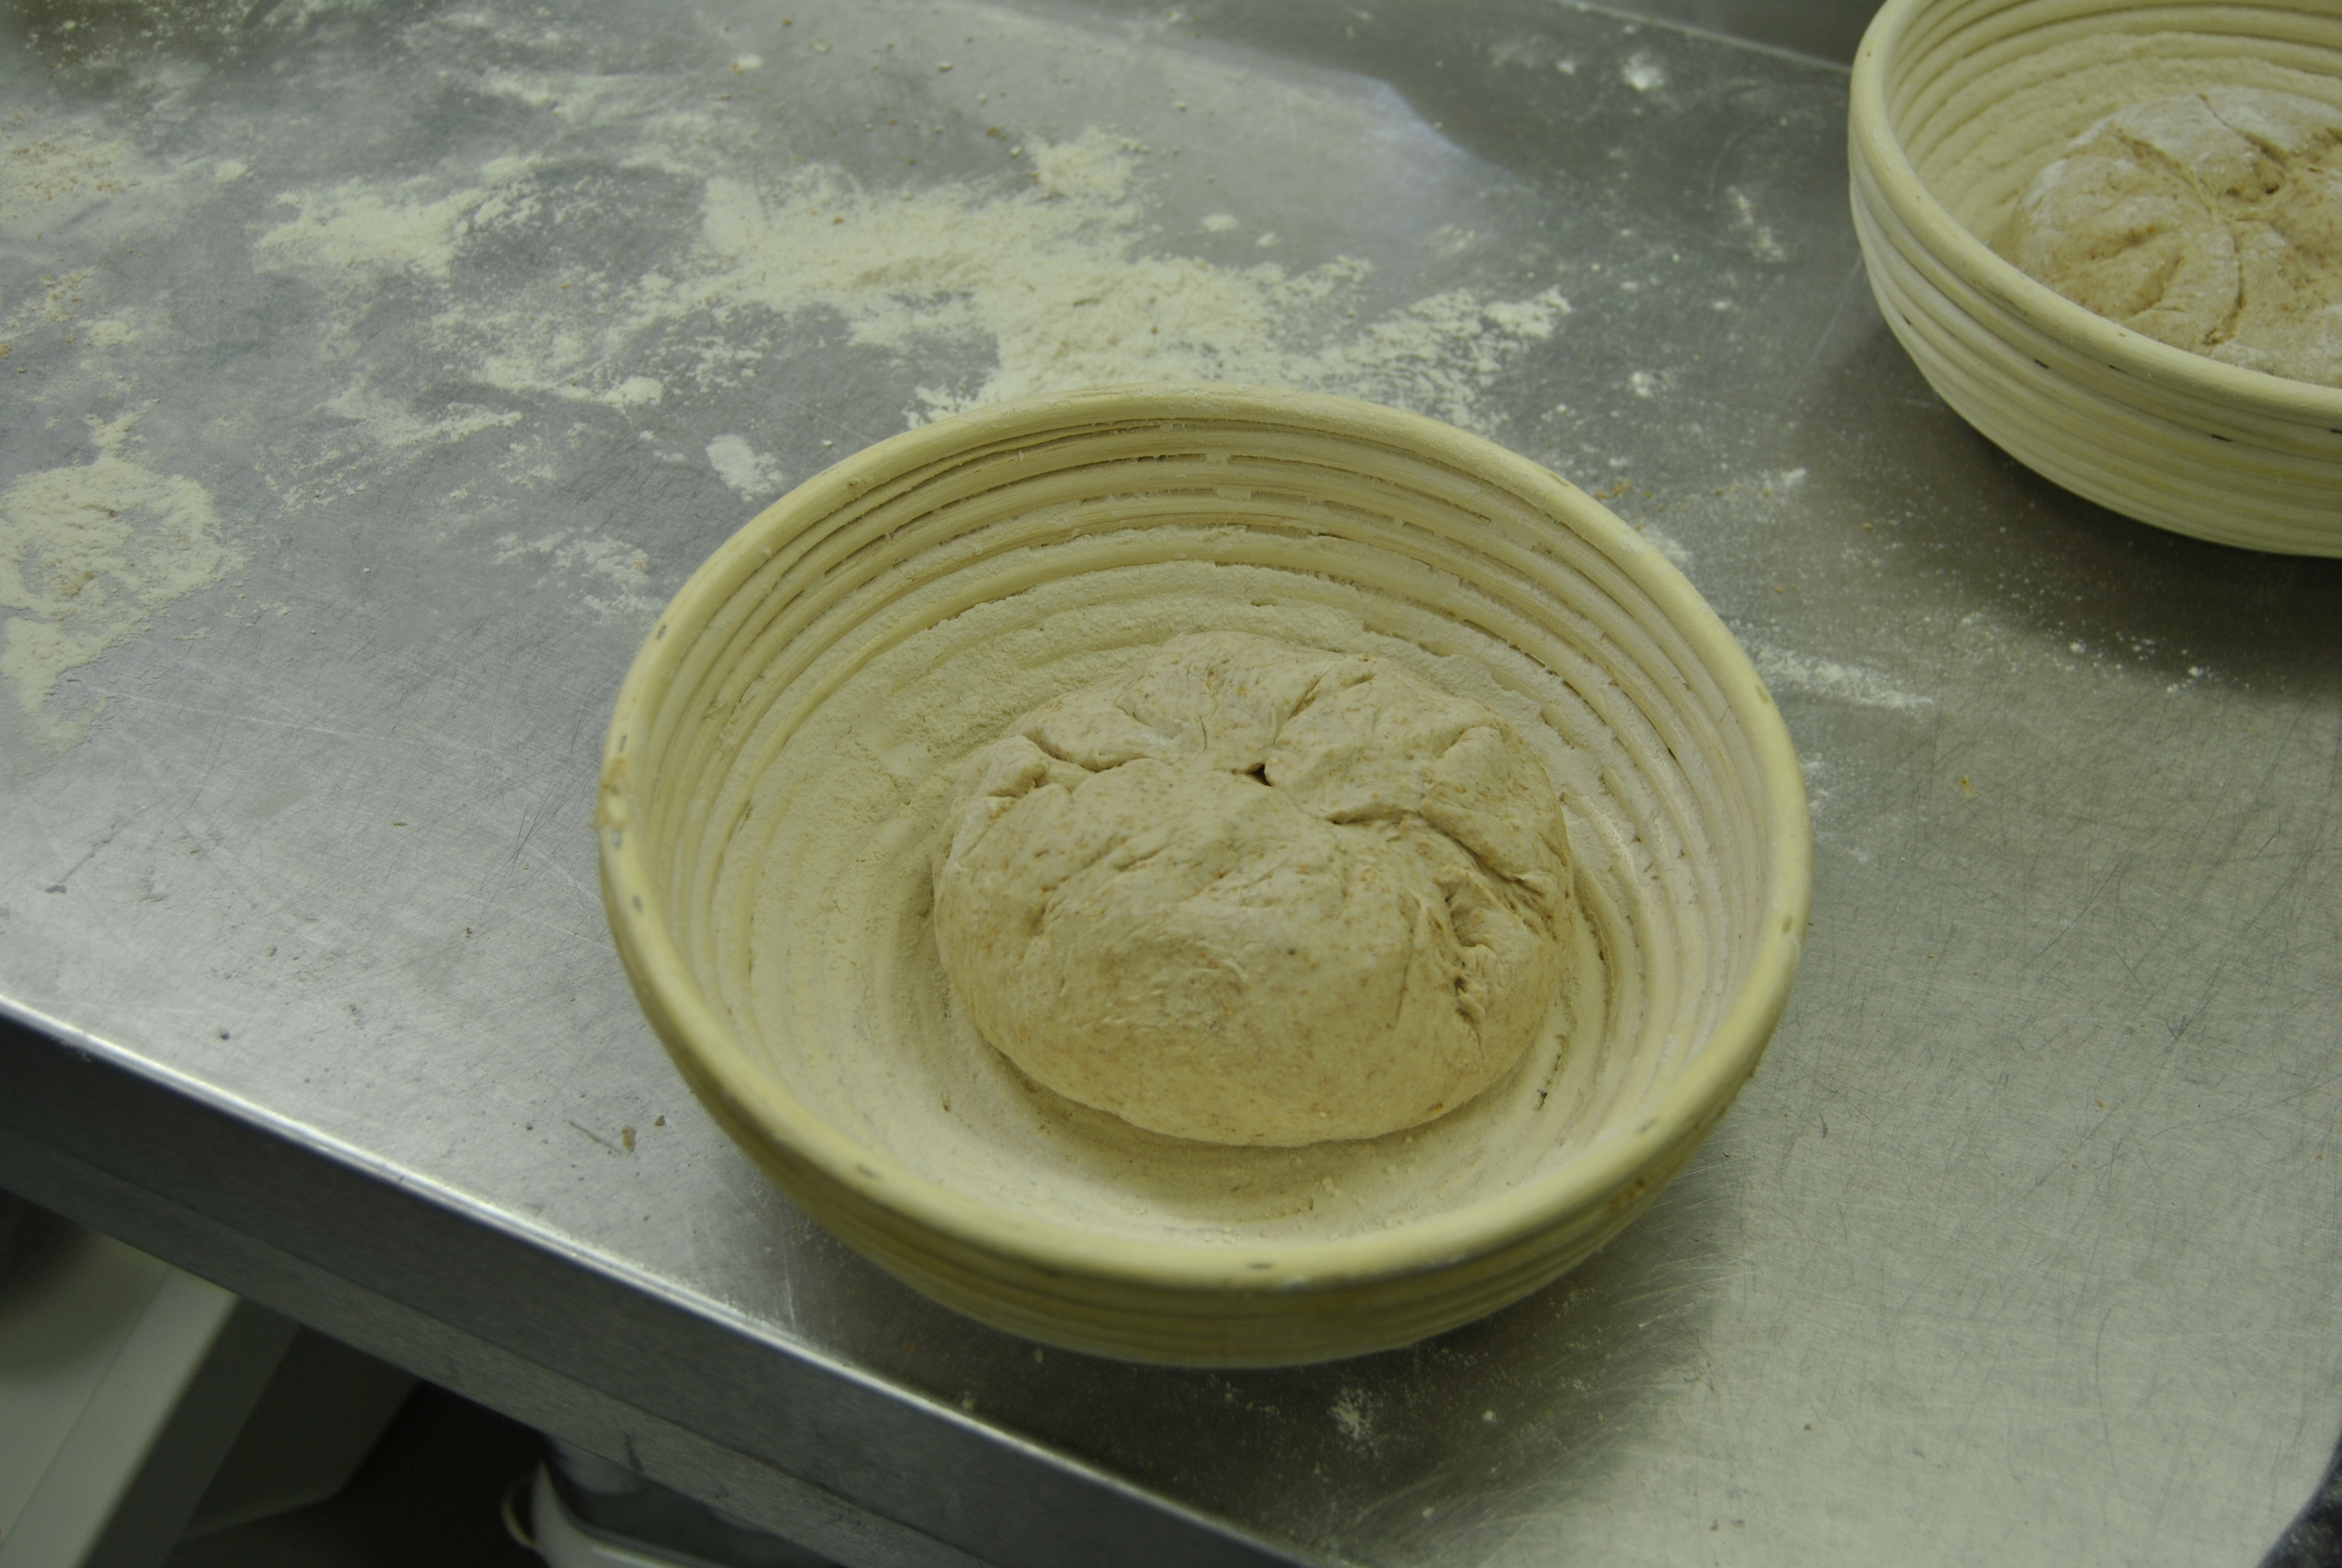
To make the process manageable we make the dough, do the initial 1-2 hours prove and then shape and place into proving baskets (bannetons) towards the end of the working day. The slower final prove then takes place in the cool kitchen overnight.
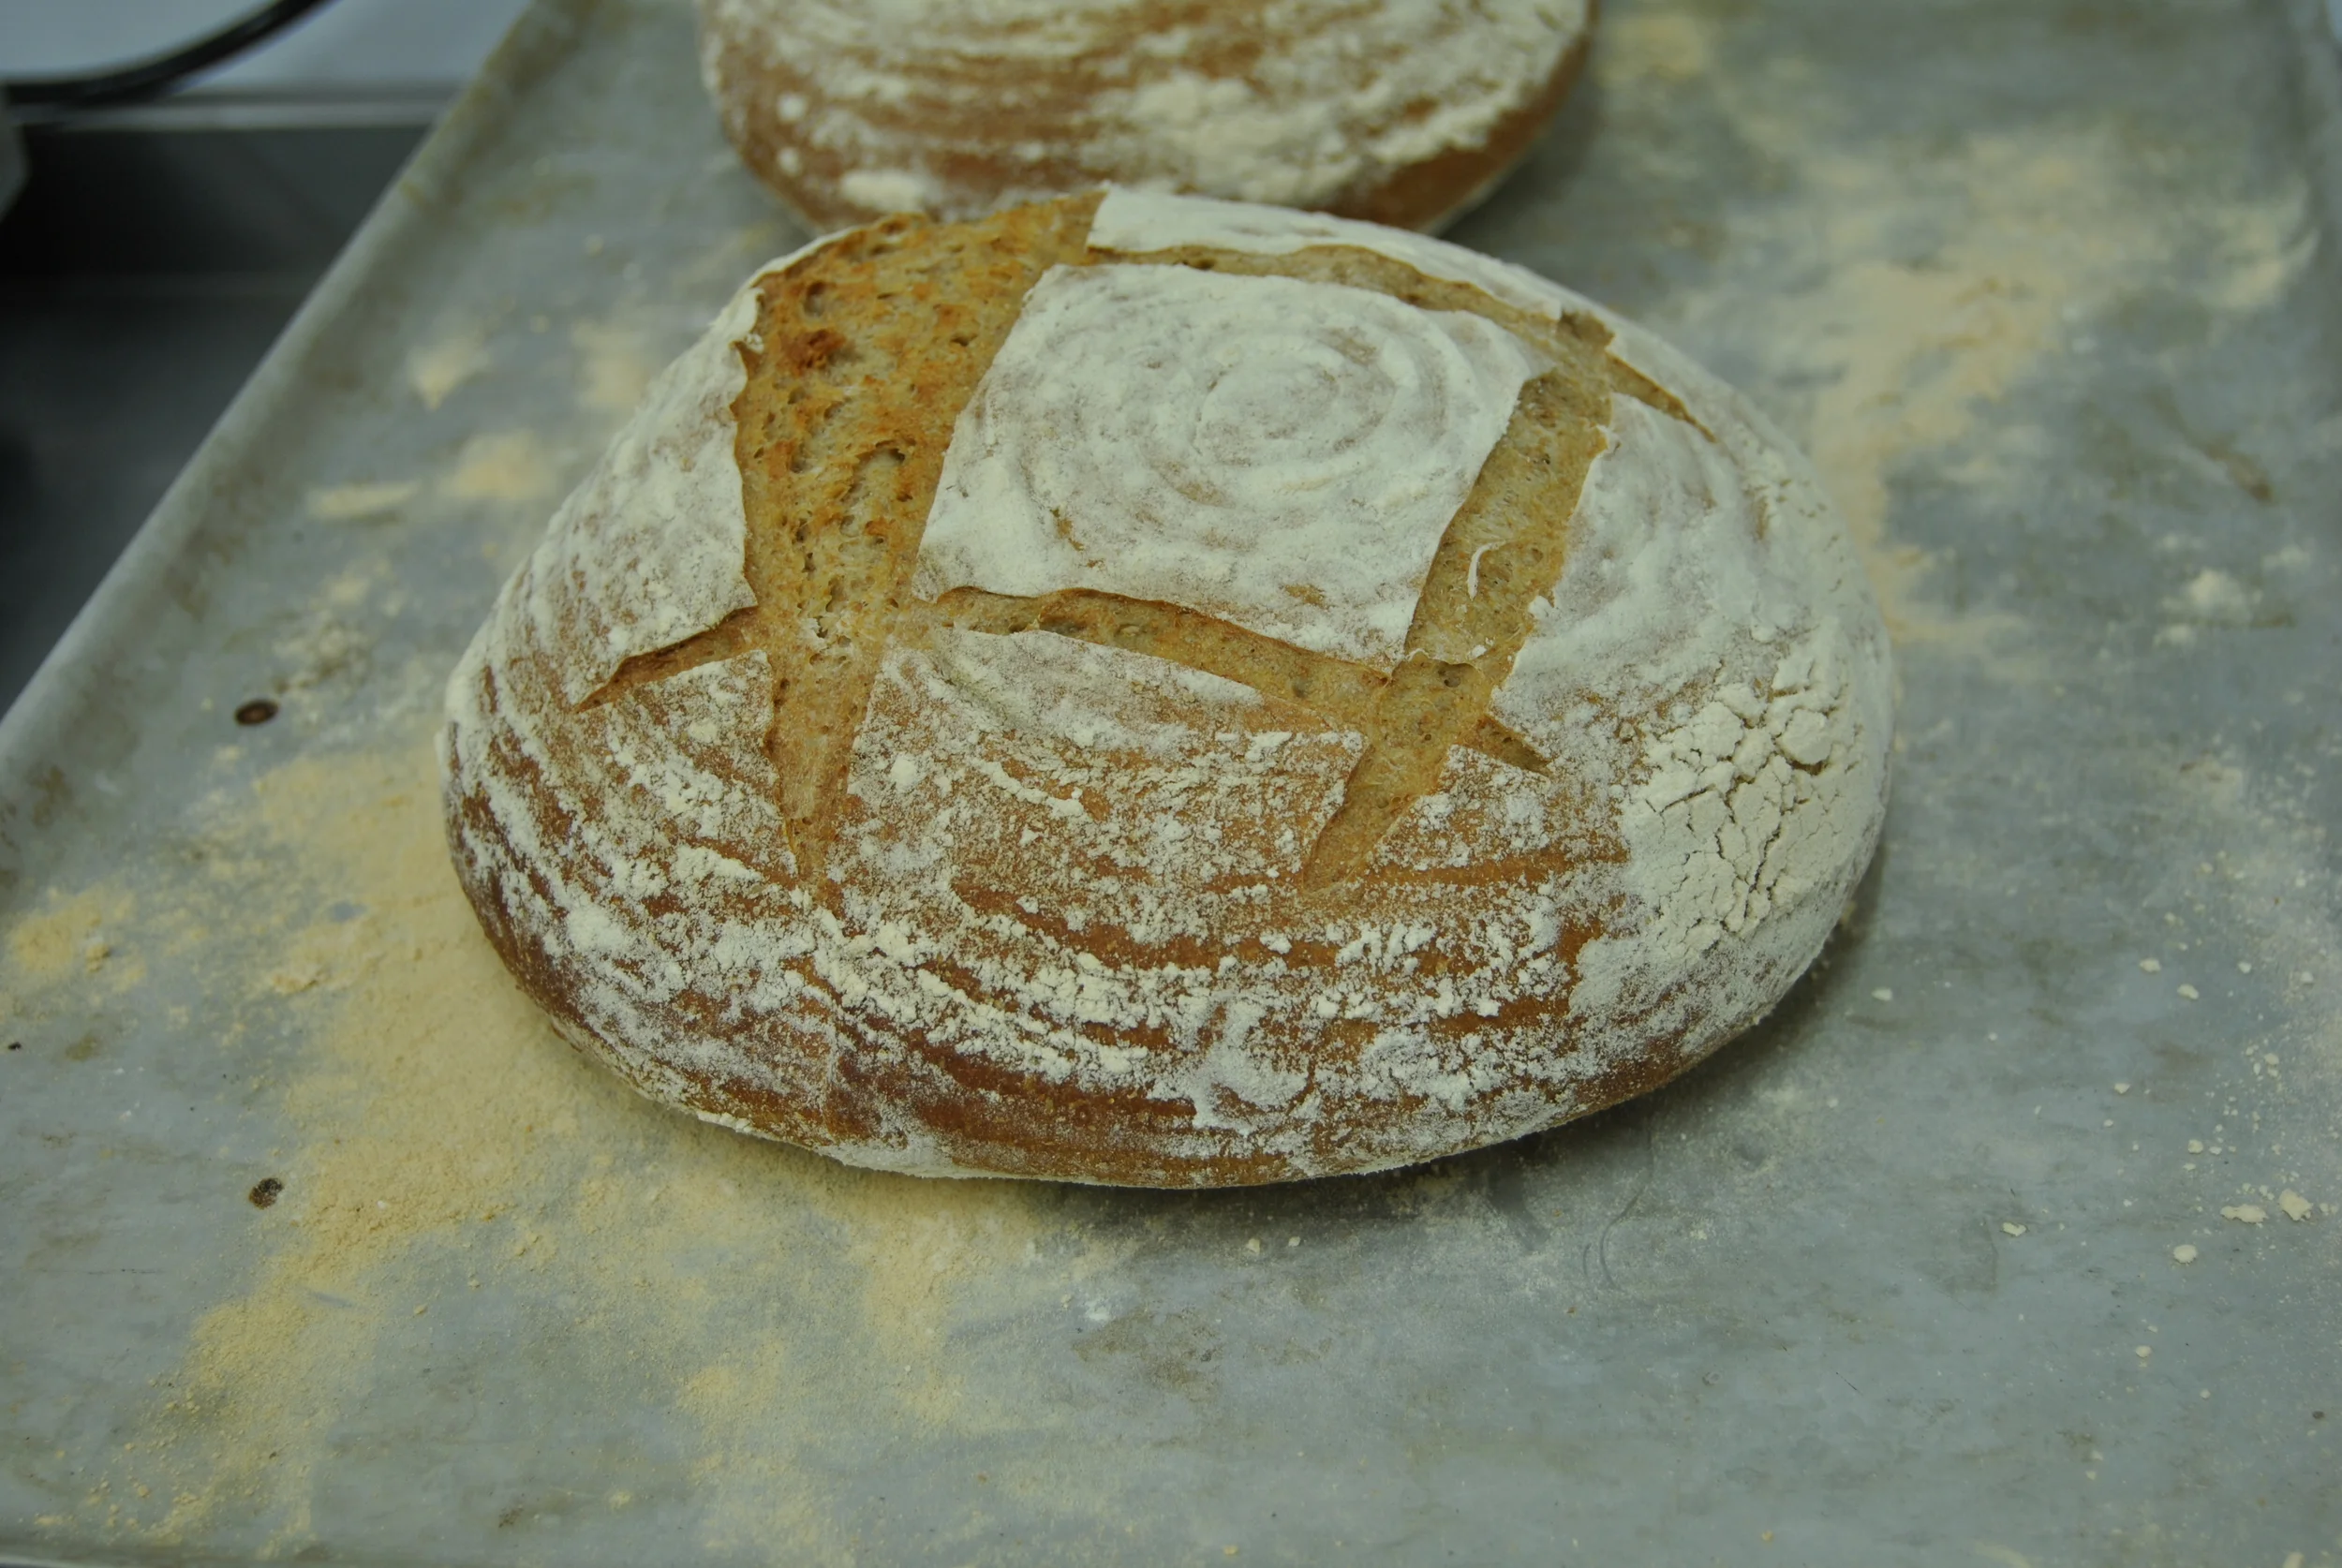
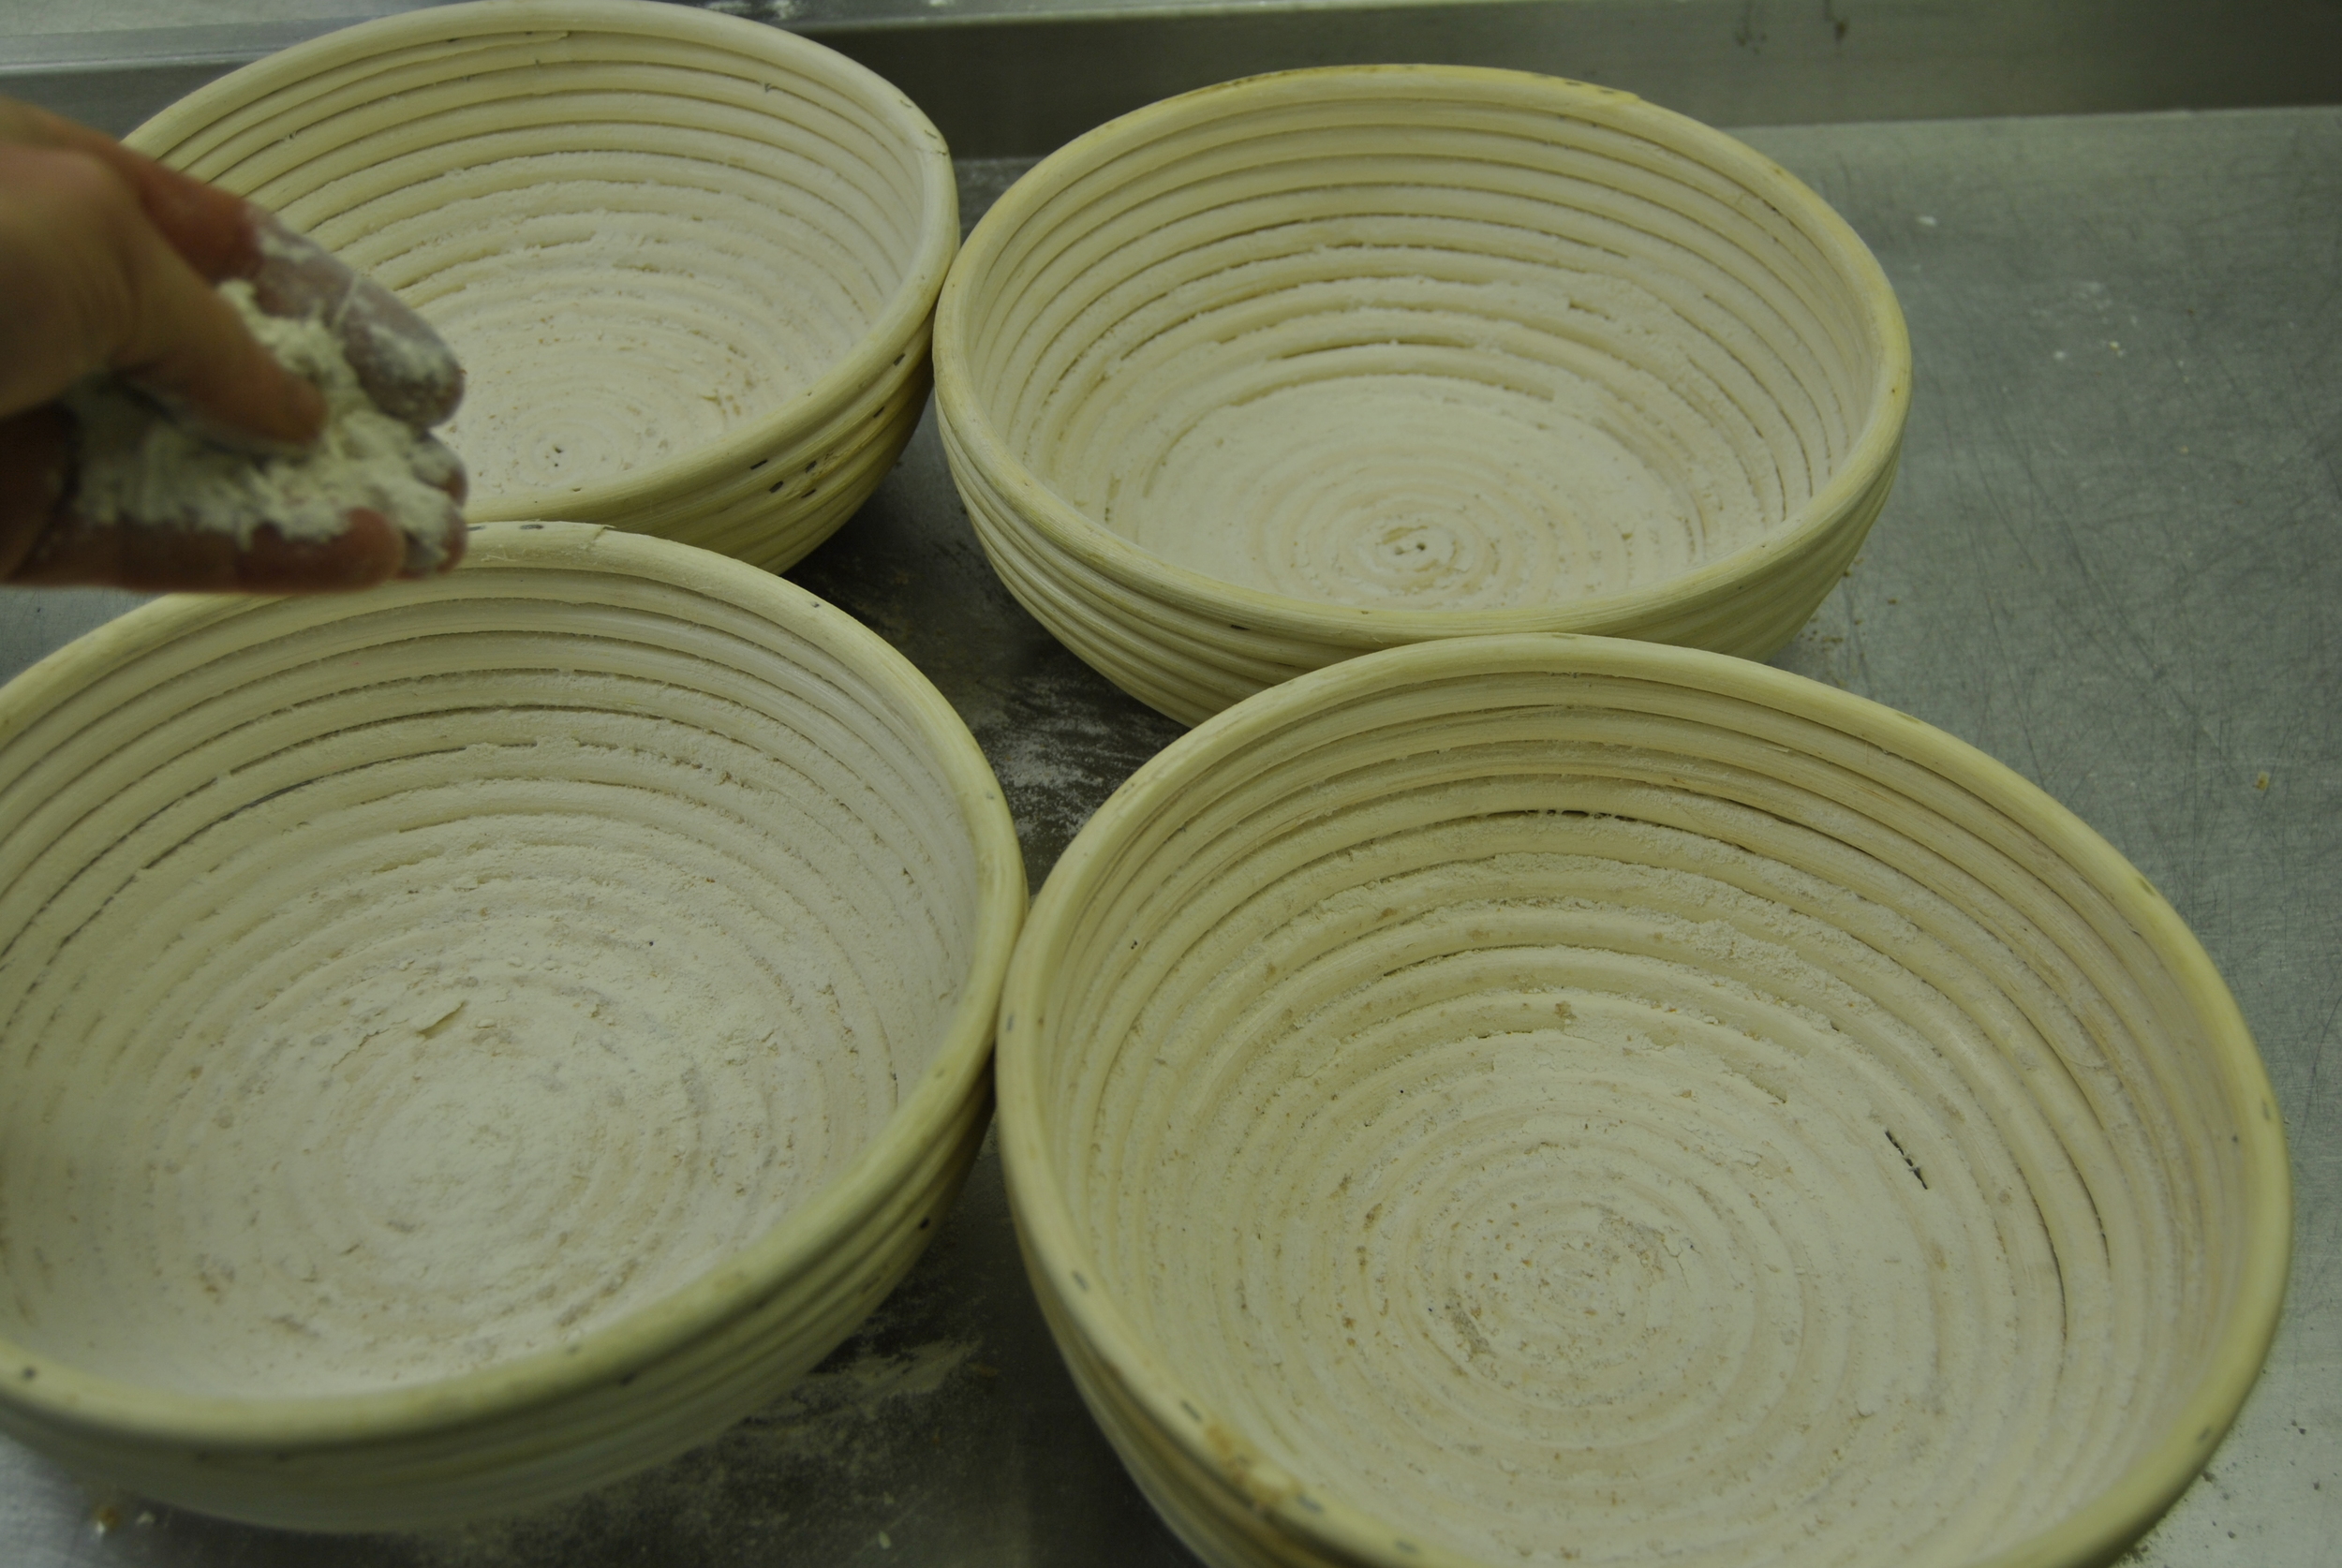
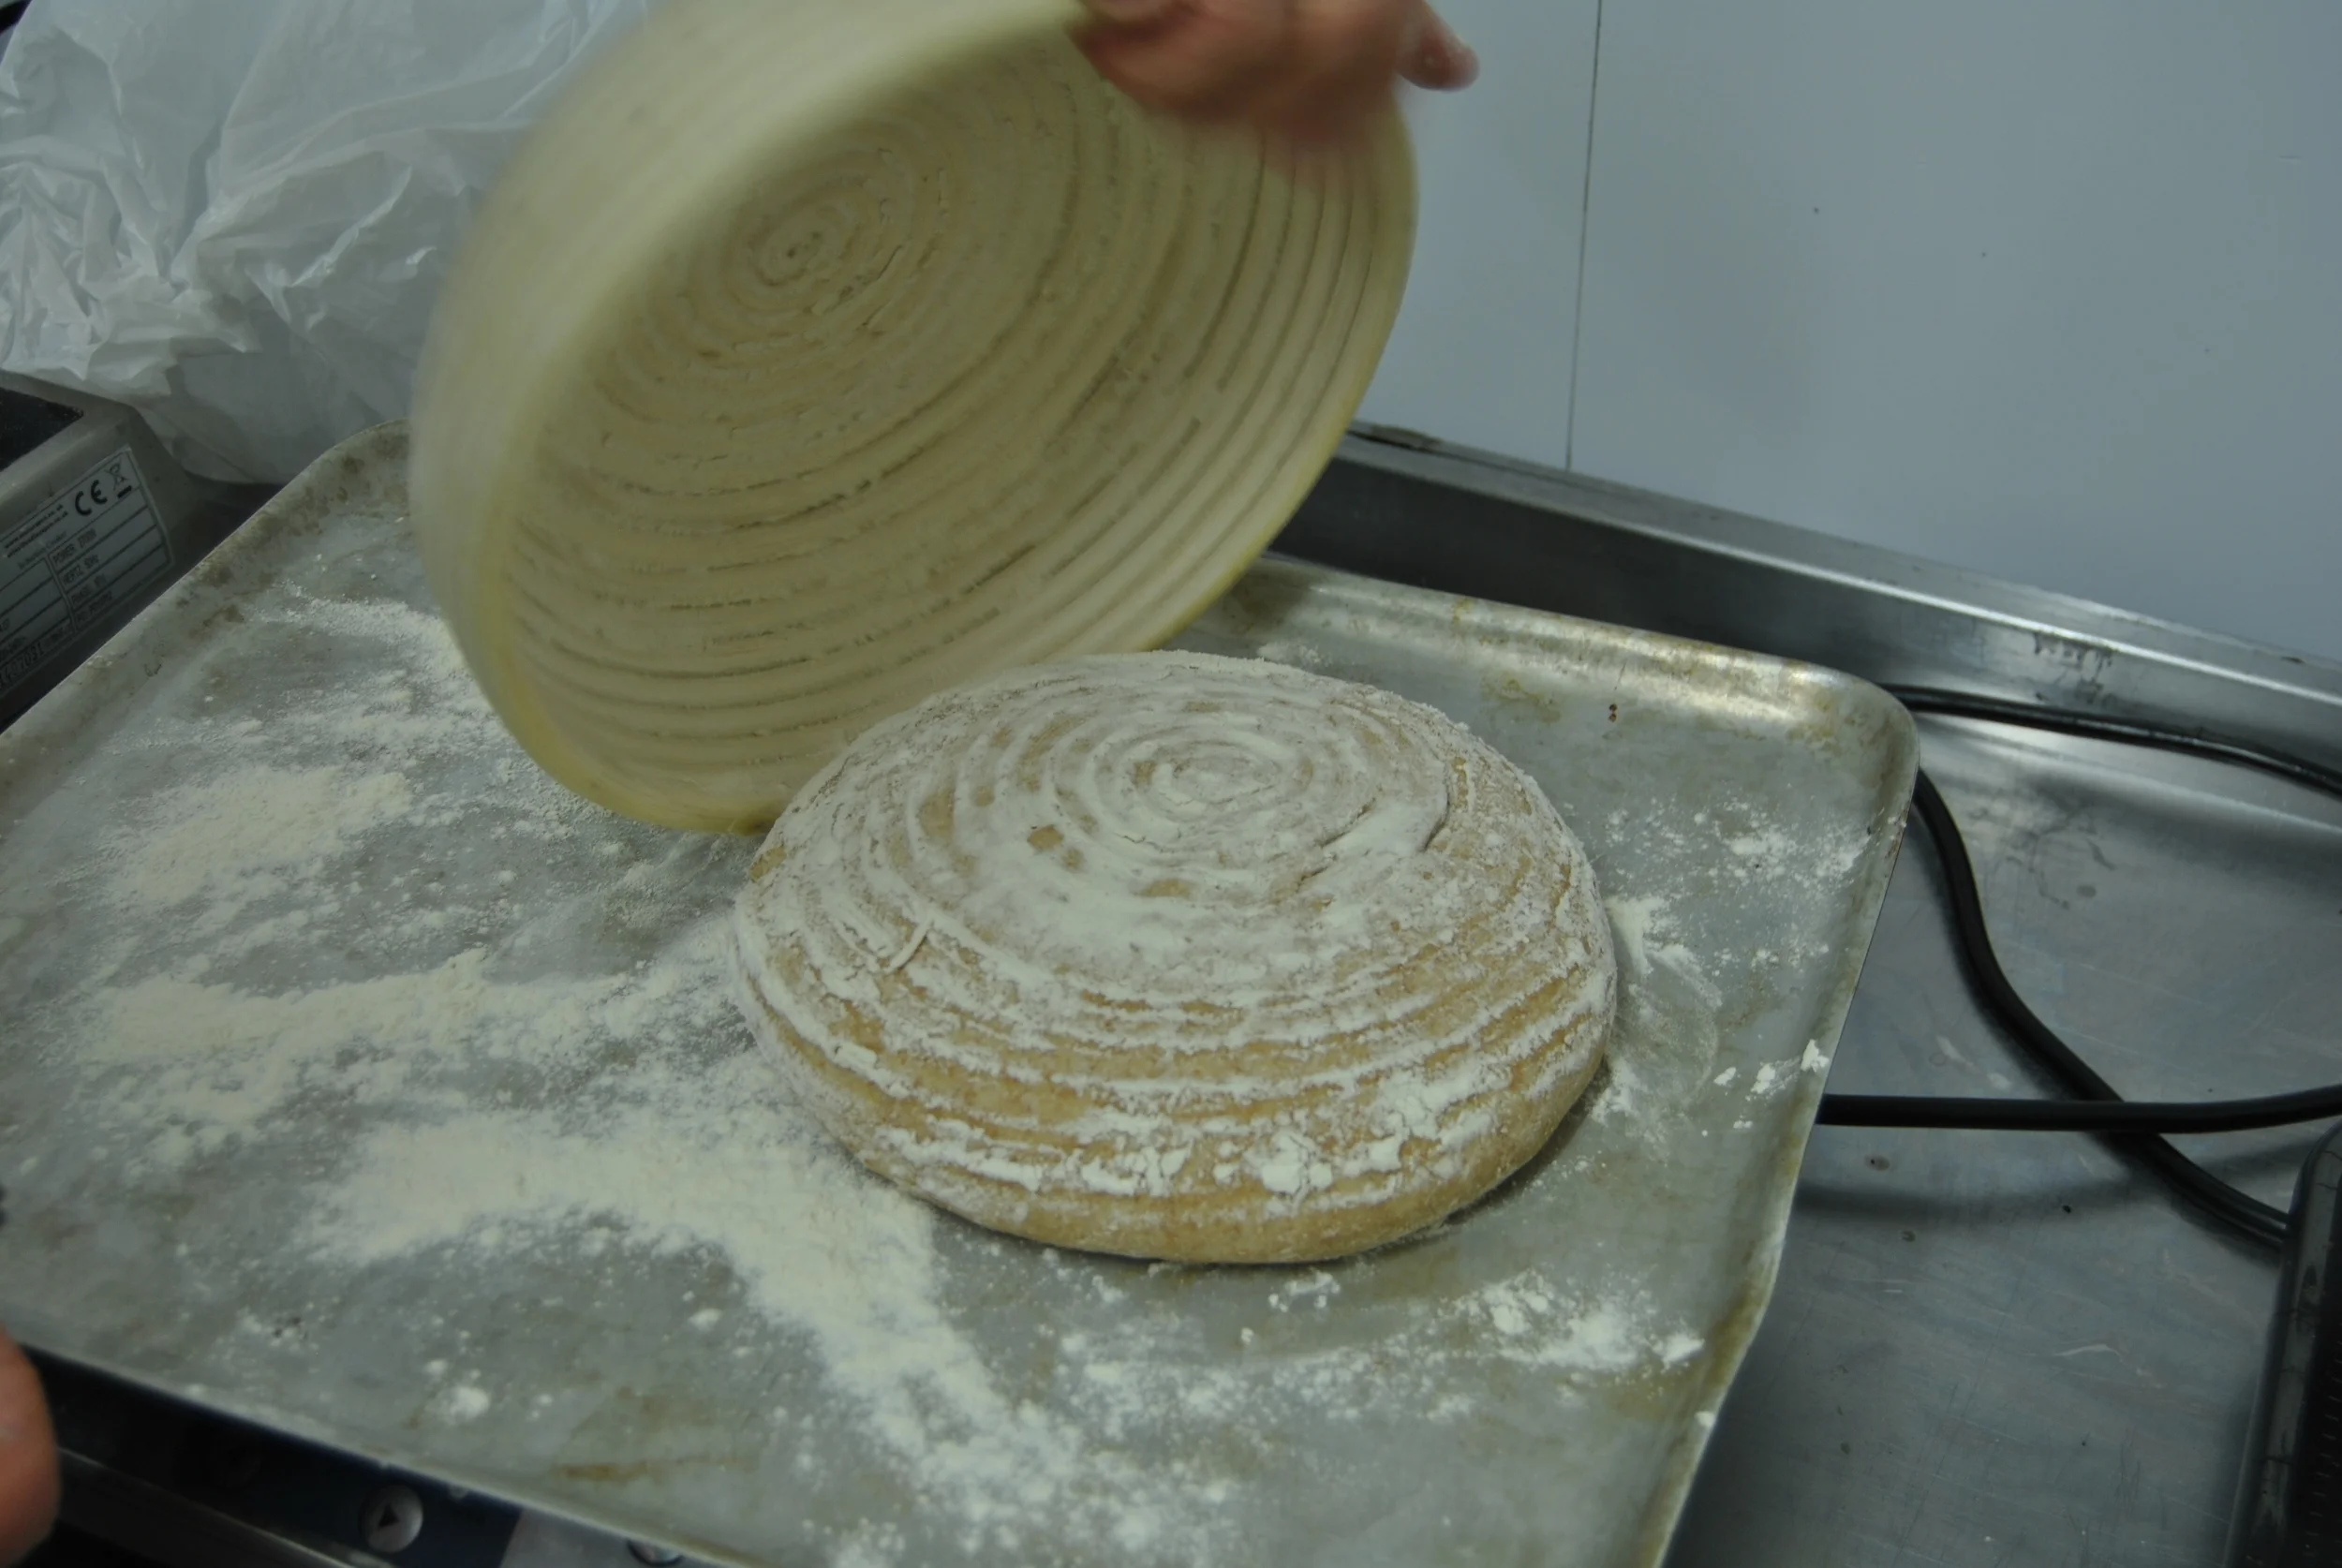
The baskets are made of canes with a concentric circle pattern and give the bread its disinct pattern. When shaping the dough its a case of carefully dividing your dough into two and with the minimum of flour fold the sides carefully up and into the centre to form as uniform a ball shape as you can. You then flip the ball over so that the seam is underneath and using the sides of your hands fold down and under whilst rotating the dough. This neatens up the ball and forms a tight smooth surface across the top of the ball. Finally lift the ball and place smooth (top) side down into the floured baskets. All sounds a little complicated but watching a video makes much more sense.
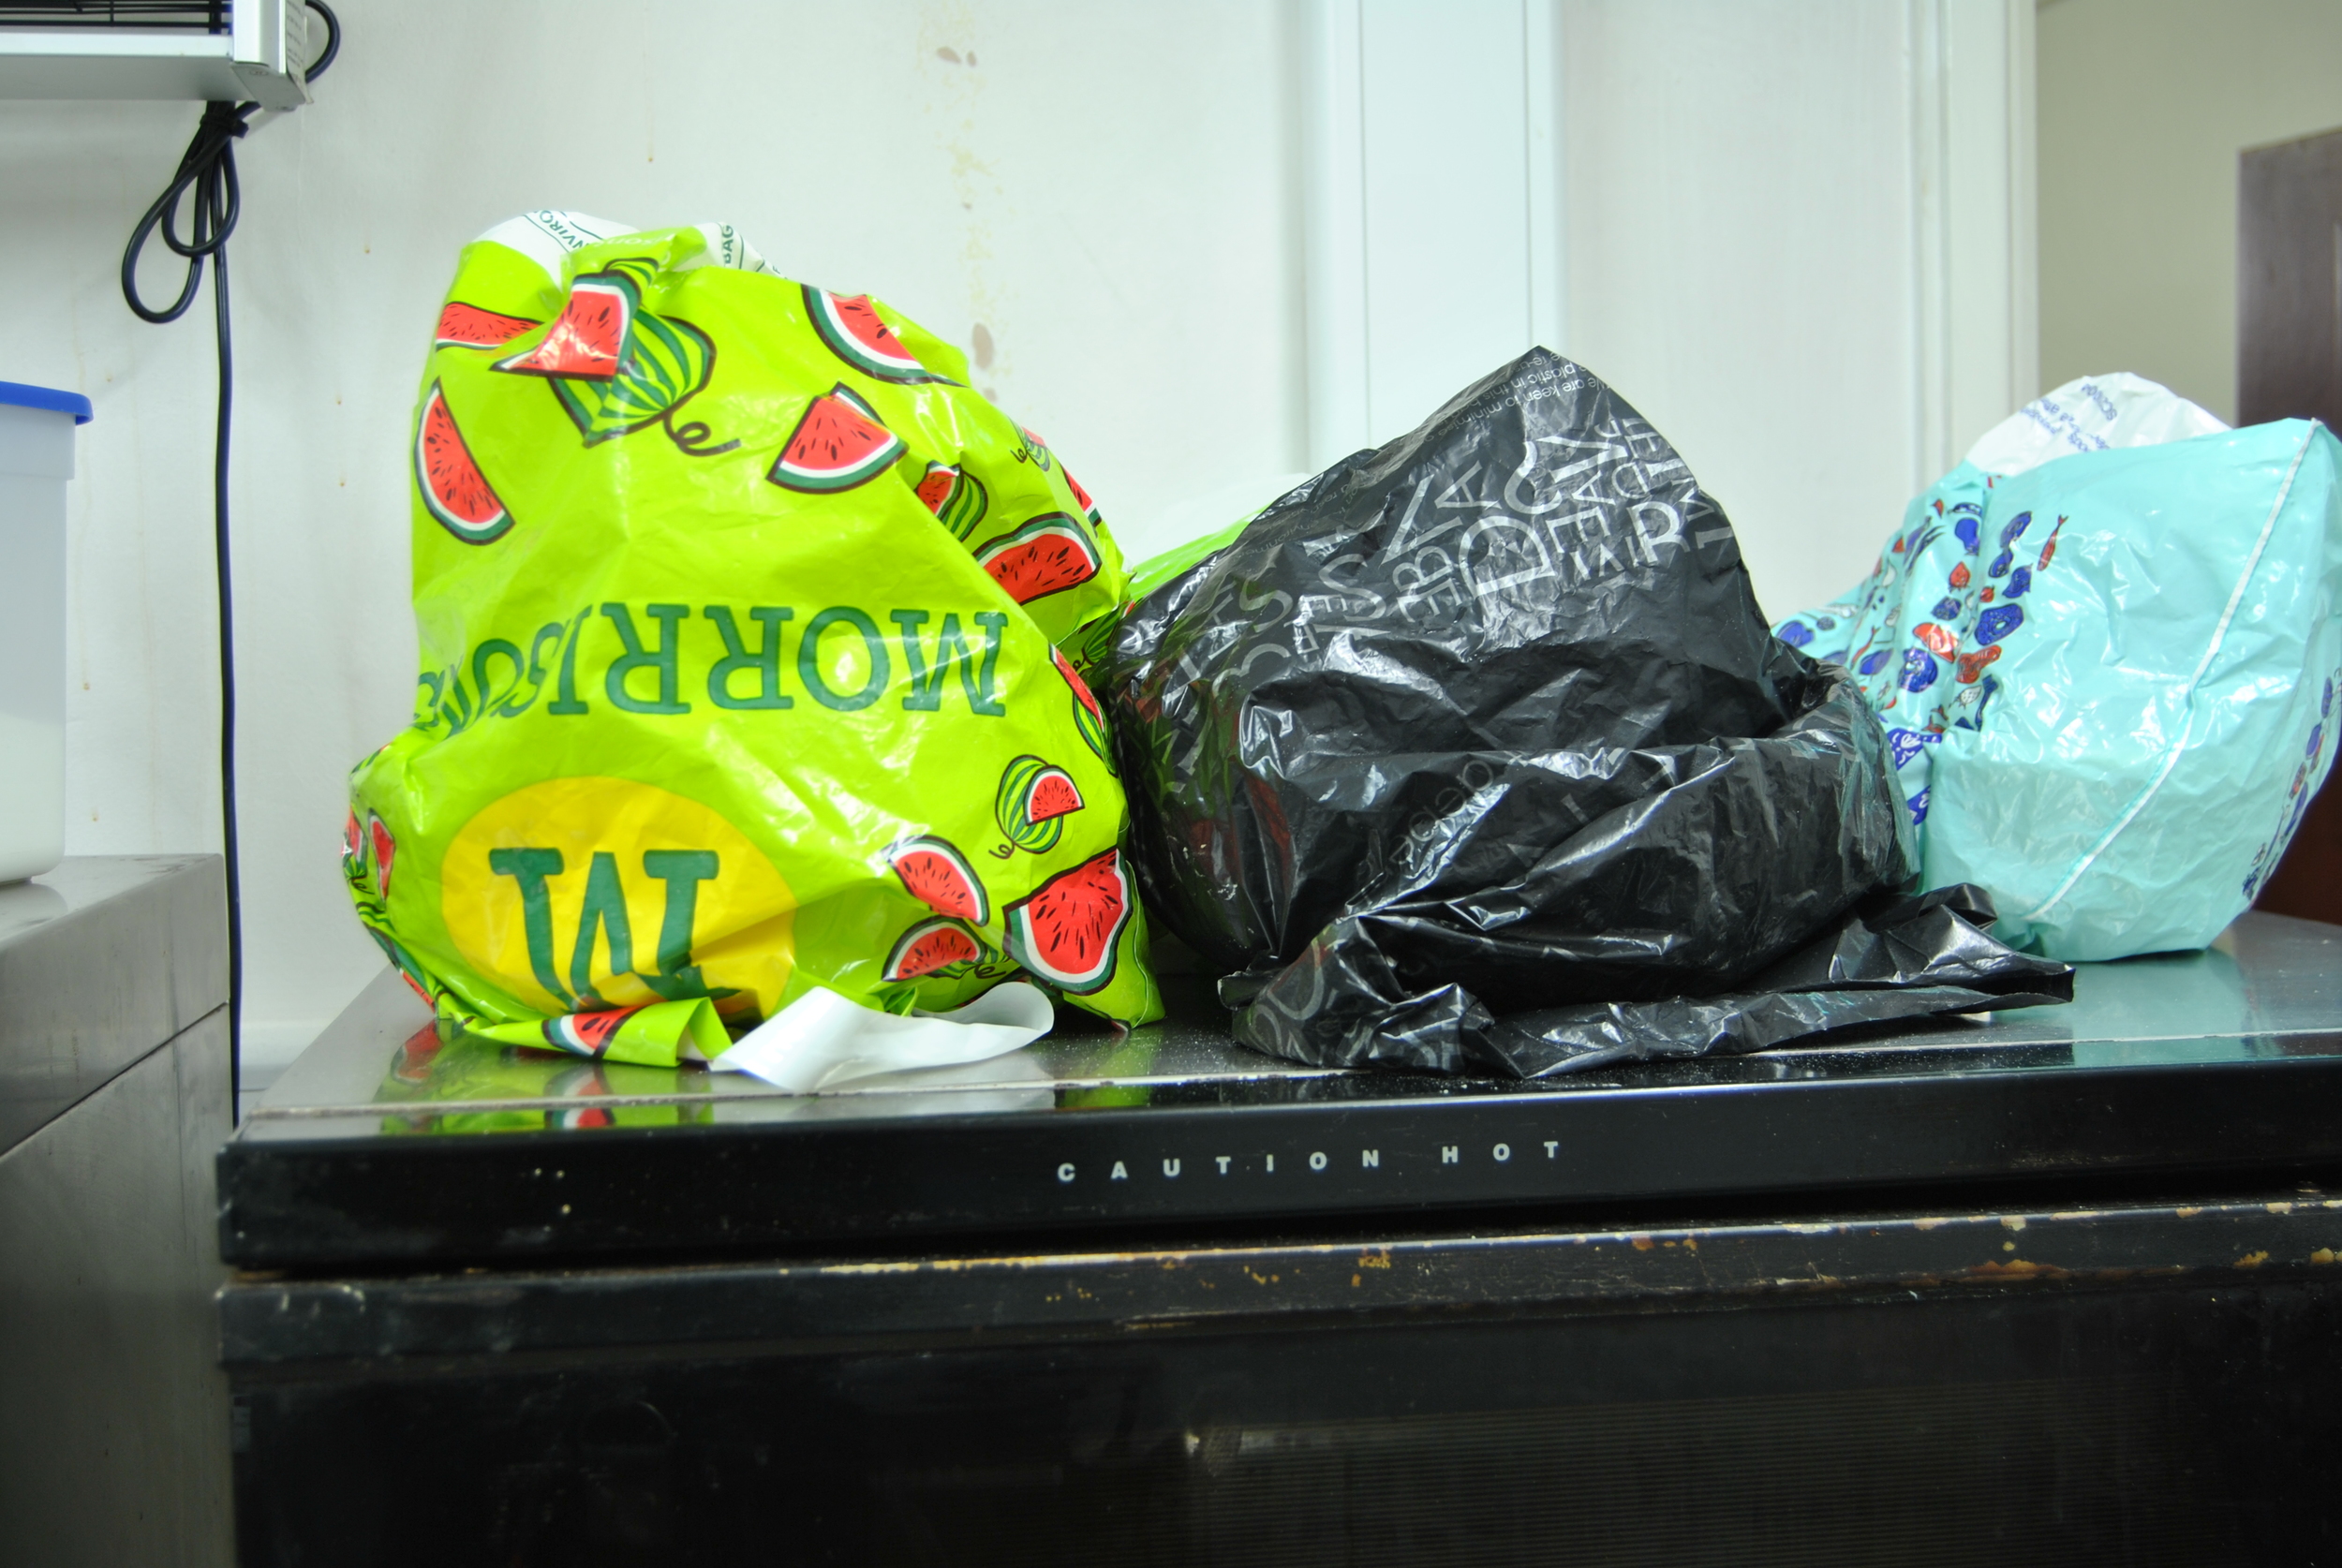
At this point we simply pop the baskets into plastic bags to maintain a moist environment and leave overnight. In the winter the cool kitchen temperature (approx 10C°) is ideal for a slow development over 12 hours so that first job at 7am is to turn out and bake. If your kitchen is warmer over night you will need to find a cooler place (or warm fridge) to ensure the dough does not over develop in this longer peroiod.
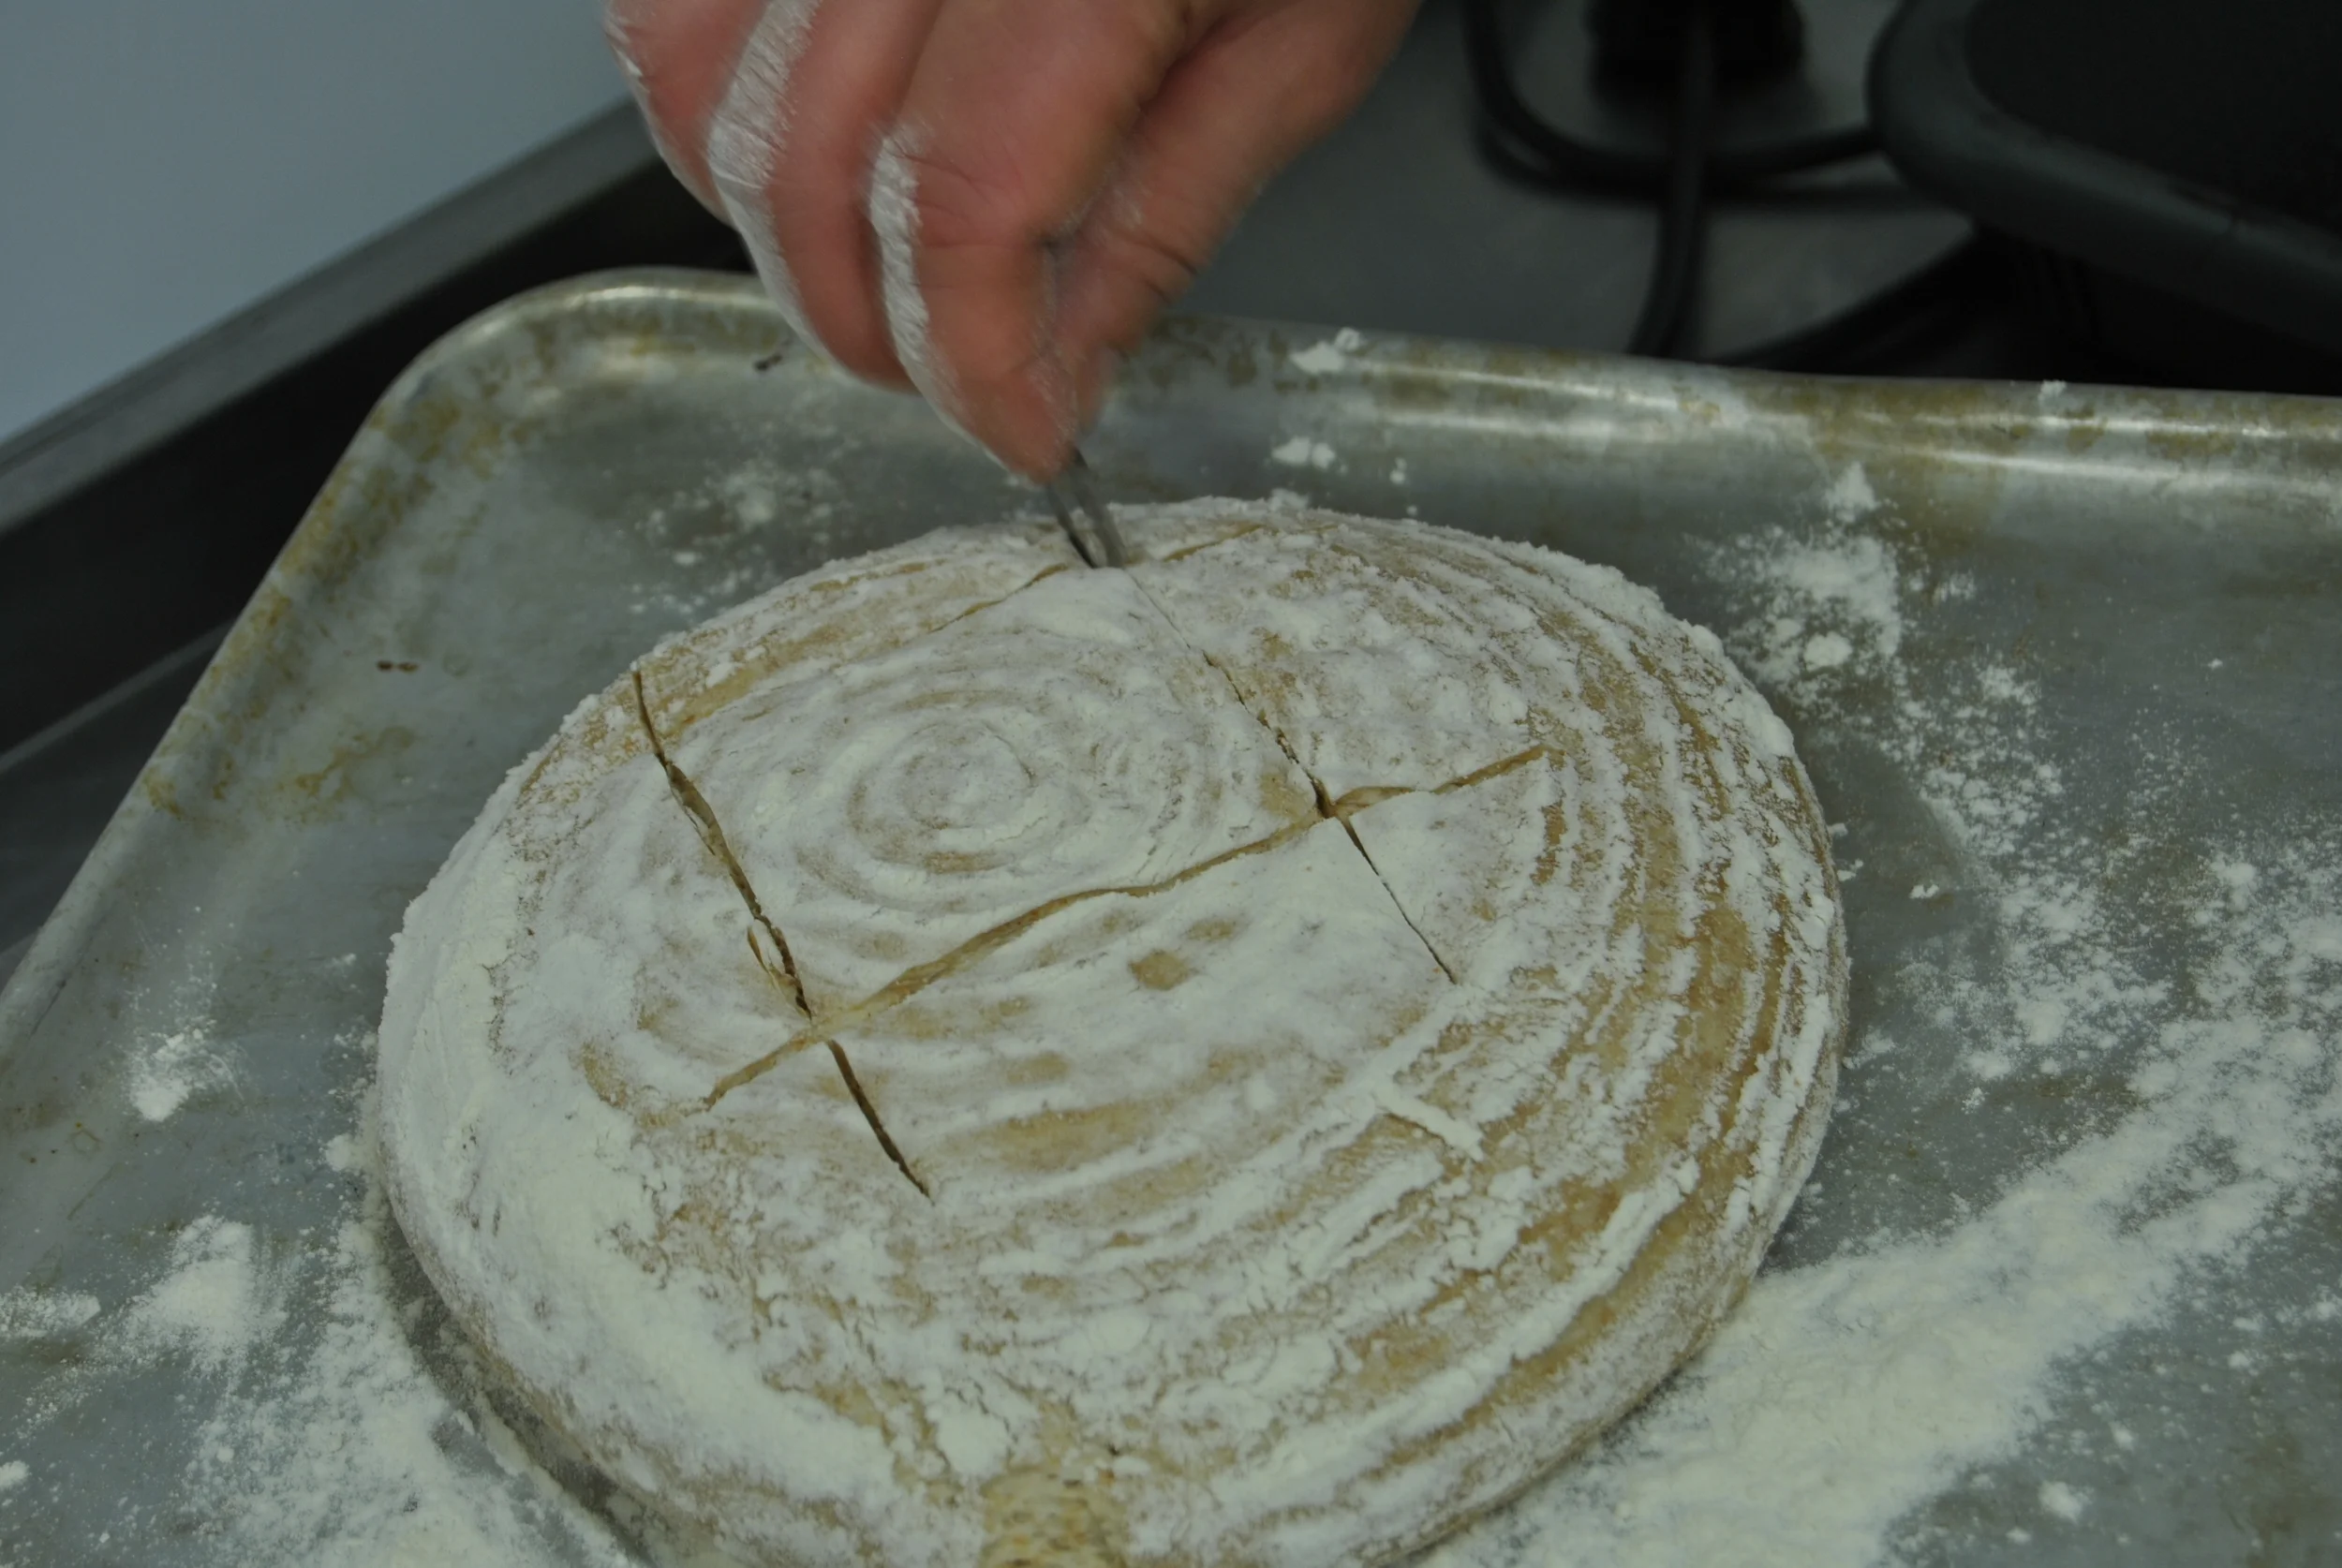
So first thing in the moring we prepare to bake. We get an oven to 220C° with a tray of boiling water on the lowest shelf. We then turn out the bread onto floured baking trays and cut the surface in a simple pattern with a razor blade. This helps form a good crust as well as giving a lovely final appearrance.
The picture below shows the loaves after the inital higher temperature bake where the "oven lift" has done its work.

After 10 minutes baking we turn the oven down to 180C° and cook for another 20-30 minutes. You are looking for a good dark colour (develops flavour as sugars are caramelised) and a hollow sound when you tap the base of the cooked loaf to judge when it is ready.

Allow to cool and enjoy your own amzingly flavoured bread. Its last really well, easily up to a week and even after that still makes good toast. You will find it hard to go back to any other bread!
For further information I can recommend: Tartine Bread Books Bread Matters by Andrew Whitley and Bread: River Cottage handbook 3 by Daniel Stevens